A few months ago I got an Apollo 500GB 2.5" portable hard-drive from Imation. It’s nice and compact and I used it to store movies, music and other random crap. About a month ago I was trying to copy a few files onto the device when I noticed that operation was extremely slow. It was so slow that it was pretty much unusable. I wanted to test it out and see what the problem was, but I got busy with work and also my parents were visiting and so I was flying to California almost every weekend. When I finally got around to testing it out, I found that I couldn’t even mount the drive properly now. I could neither do it in Windows 7 nor in Ubuntu 9.04. Ubuntu would recognize the drive and it also saw that there was a partition on there, but other than that it wouldn’t do anything. I tried to use gparted to format it, but it wouldn’t even show up there. In Windows 7, I used Computer Management and when to Drive Manager. Intially the drive wouldn’t show up, but after unmounting and remounting it a few times, it finally showed up. I deleted the existing partition, made a new one, and then tried to format it. The format never finished; it was taking far too long. I then tried to format it in Ubuntu and this time gparted saw the drive, but it was unable to format it as well. I suspected that it might have some hardware issues (which is strange, because it’s not like I used it in a rough manner. Imation should probably make their drives tougher!) and so I tried to run some SMART tests on it. Ubuntu’s smartmontools doesn’t support USB drives. But on Windows, I used a trial version of ArgusMonitor to test the drive. As I suspected, there were a whole bunch of errors. Many sectors were unreadable and Argus suggested that I back-up all data immediately. I didn’t have much data on there anyway and so I figured the drive was pretty much toast. Then for kicks I wondered if I could replace the internal hard-drive. It’s basically a 2.5" SATA hard-drive and I had an extra one lying around, and so I decided to see if I could replace the hard-drive.
The first step, obviously, is to disassemble the drive. This was actually a little difficult. I should point out right now that if you decide to go ahead with this, you’re probably voiding your warranty. Please don’t hold me responsible for any damage that you might do to your drive. Also, you might end up scratching the exterior a bit (especially along the chrome edges). It’s not that noticeable unless you examine the disk closely.
]
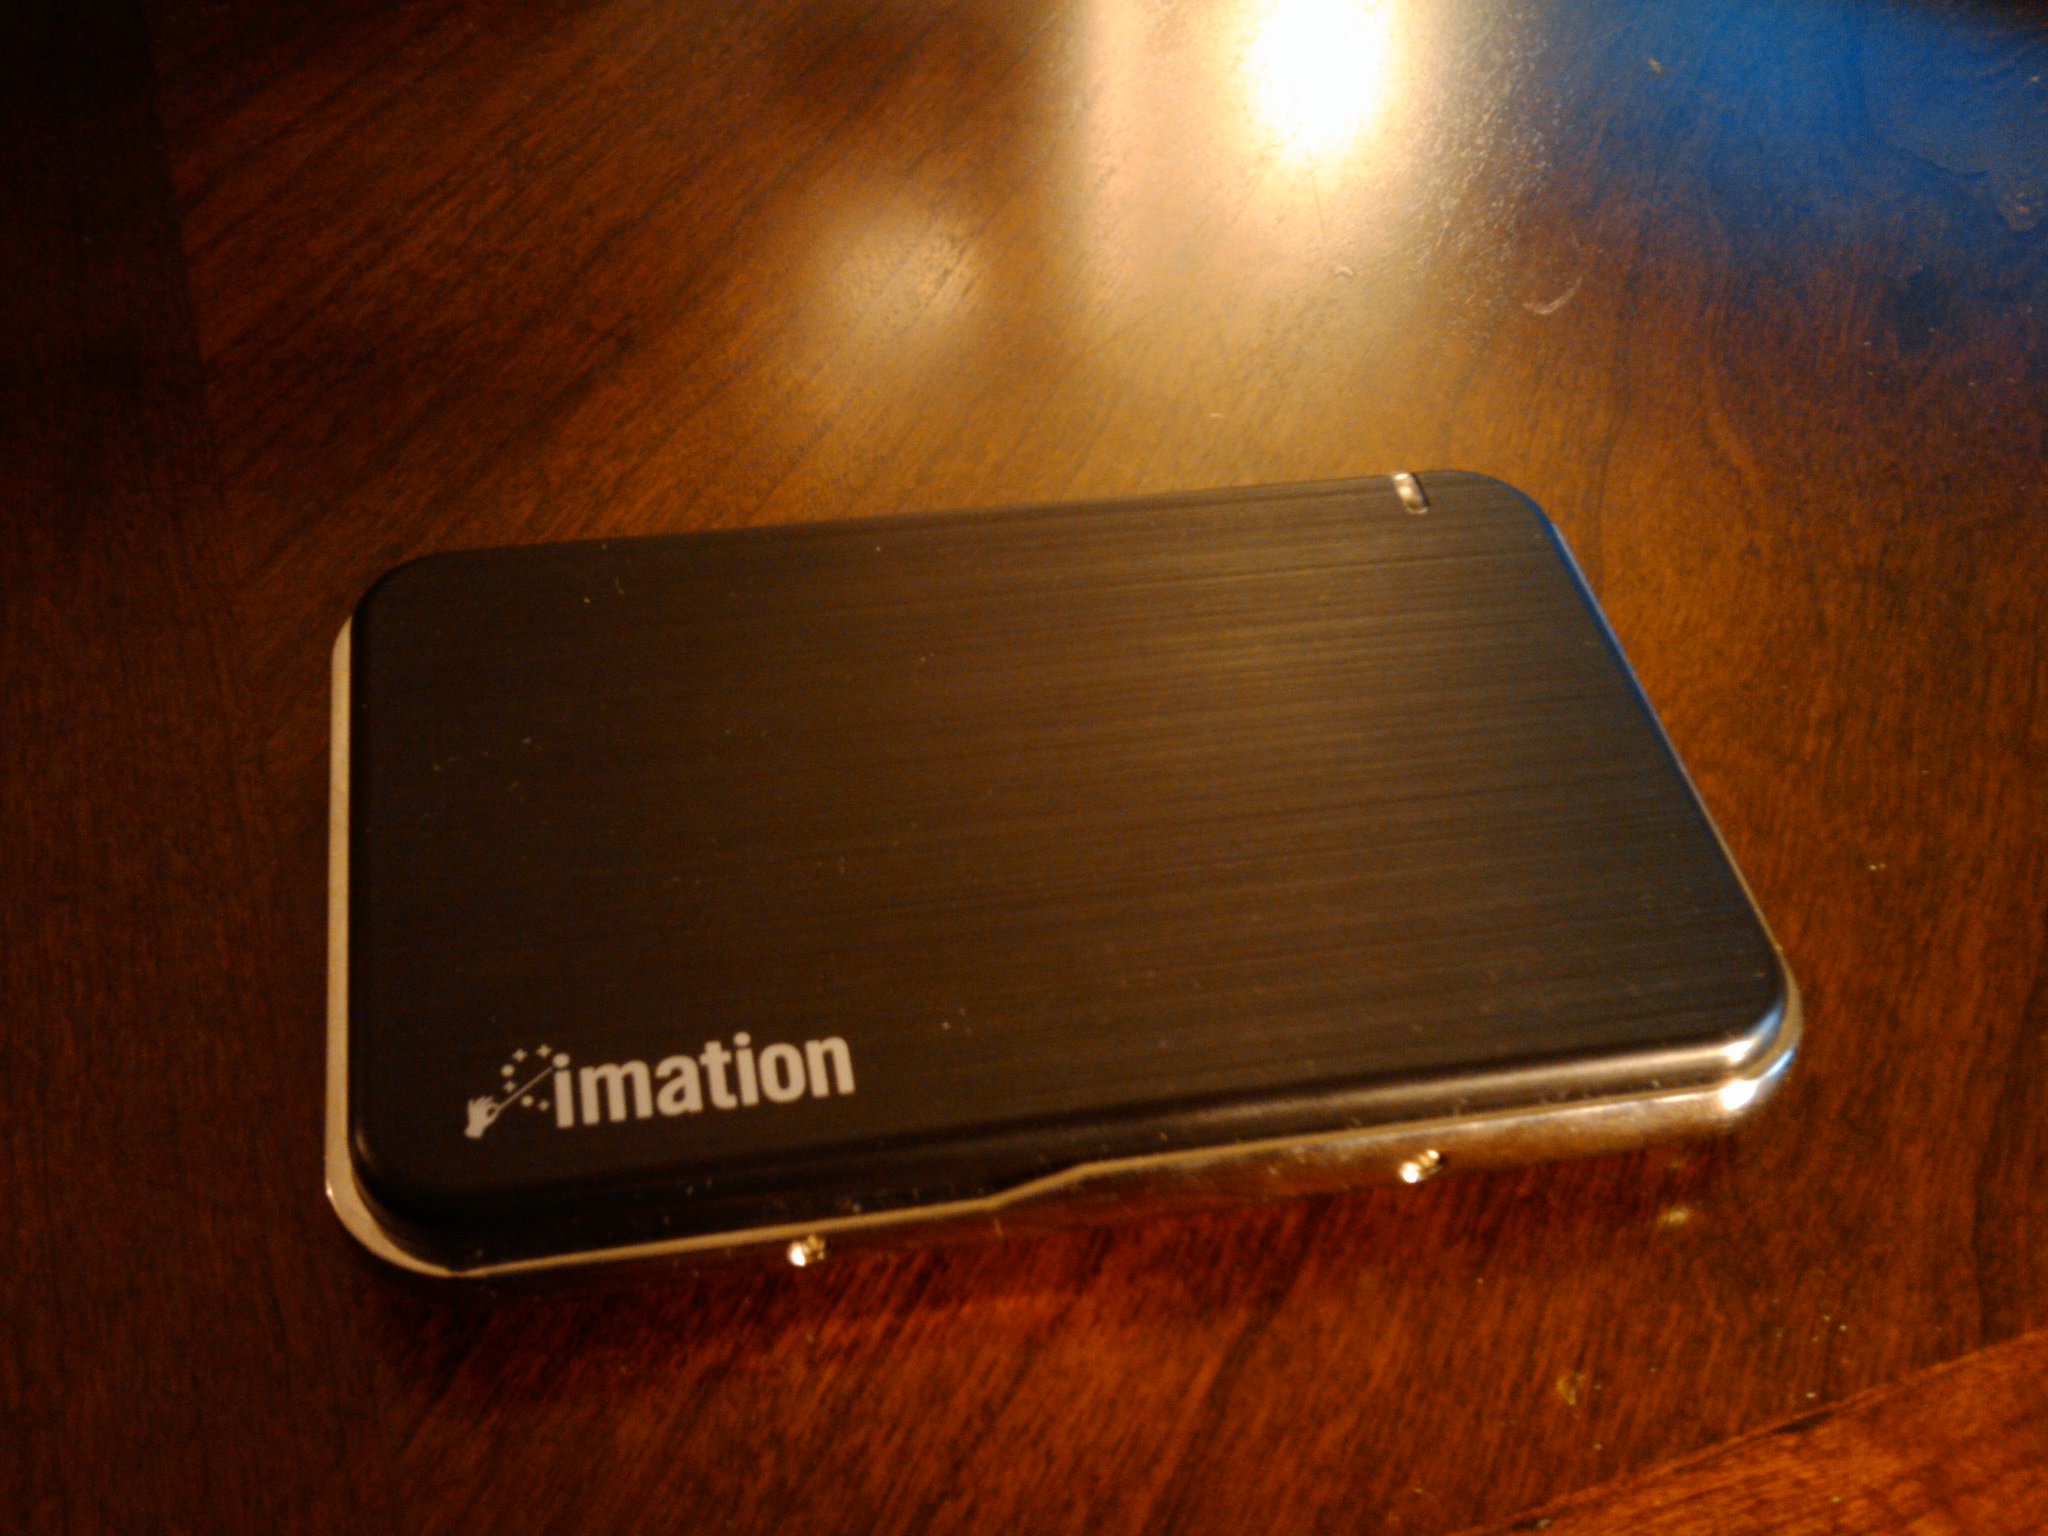
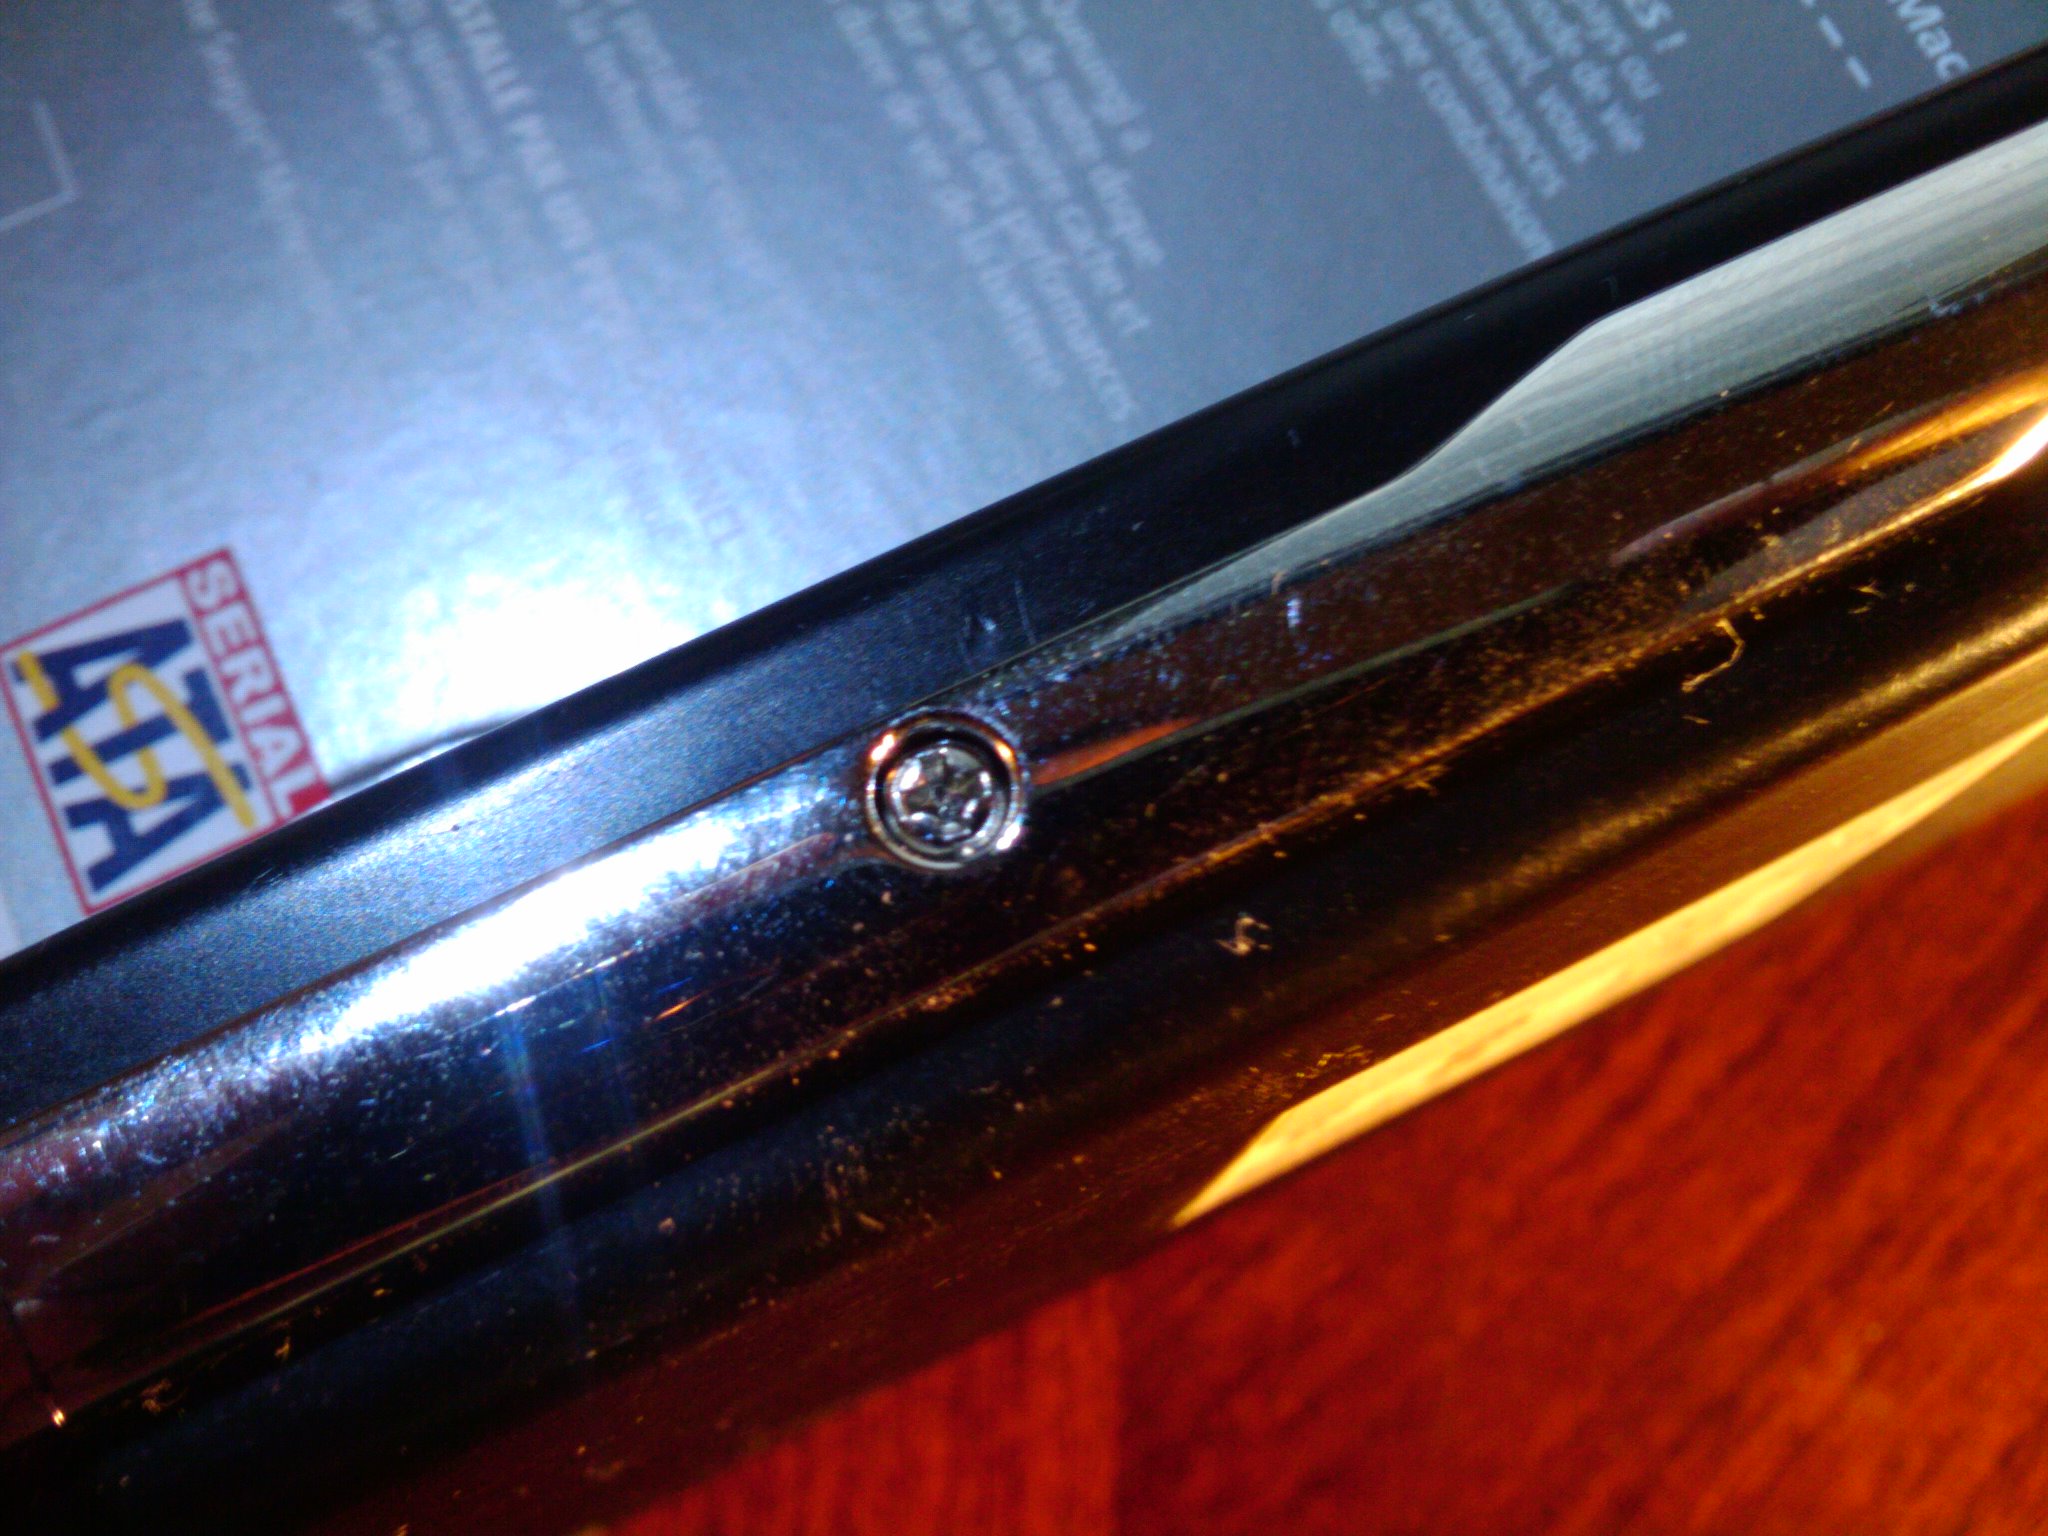
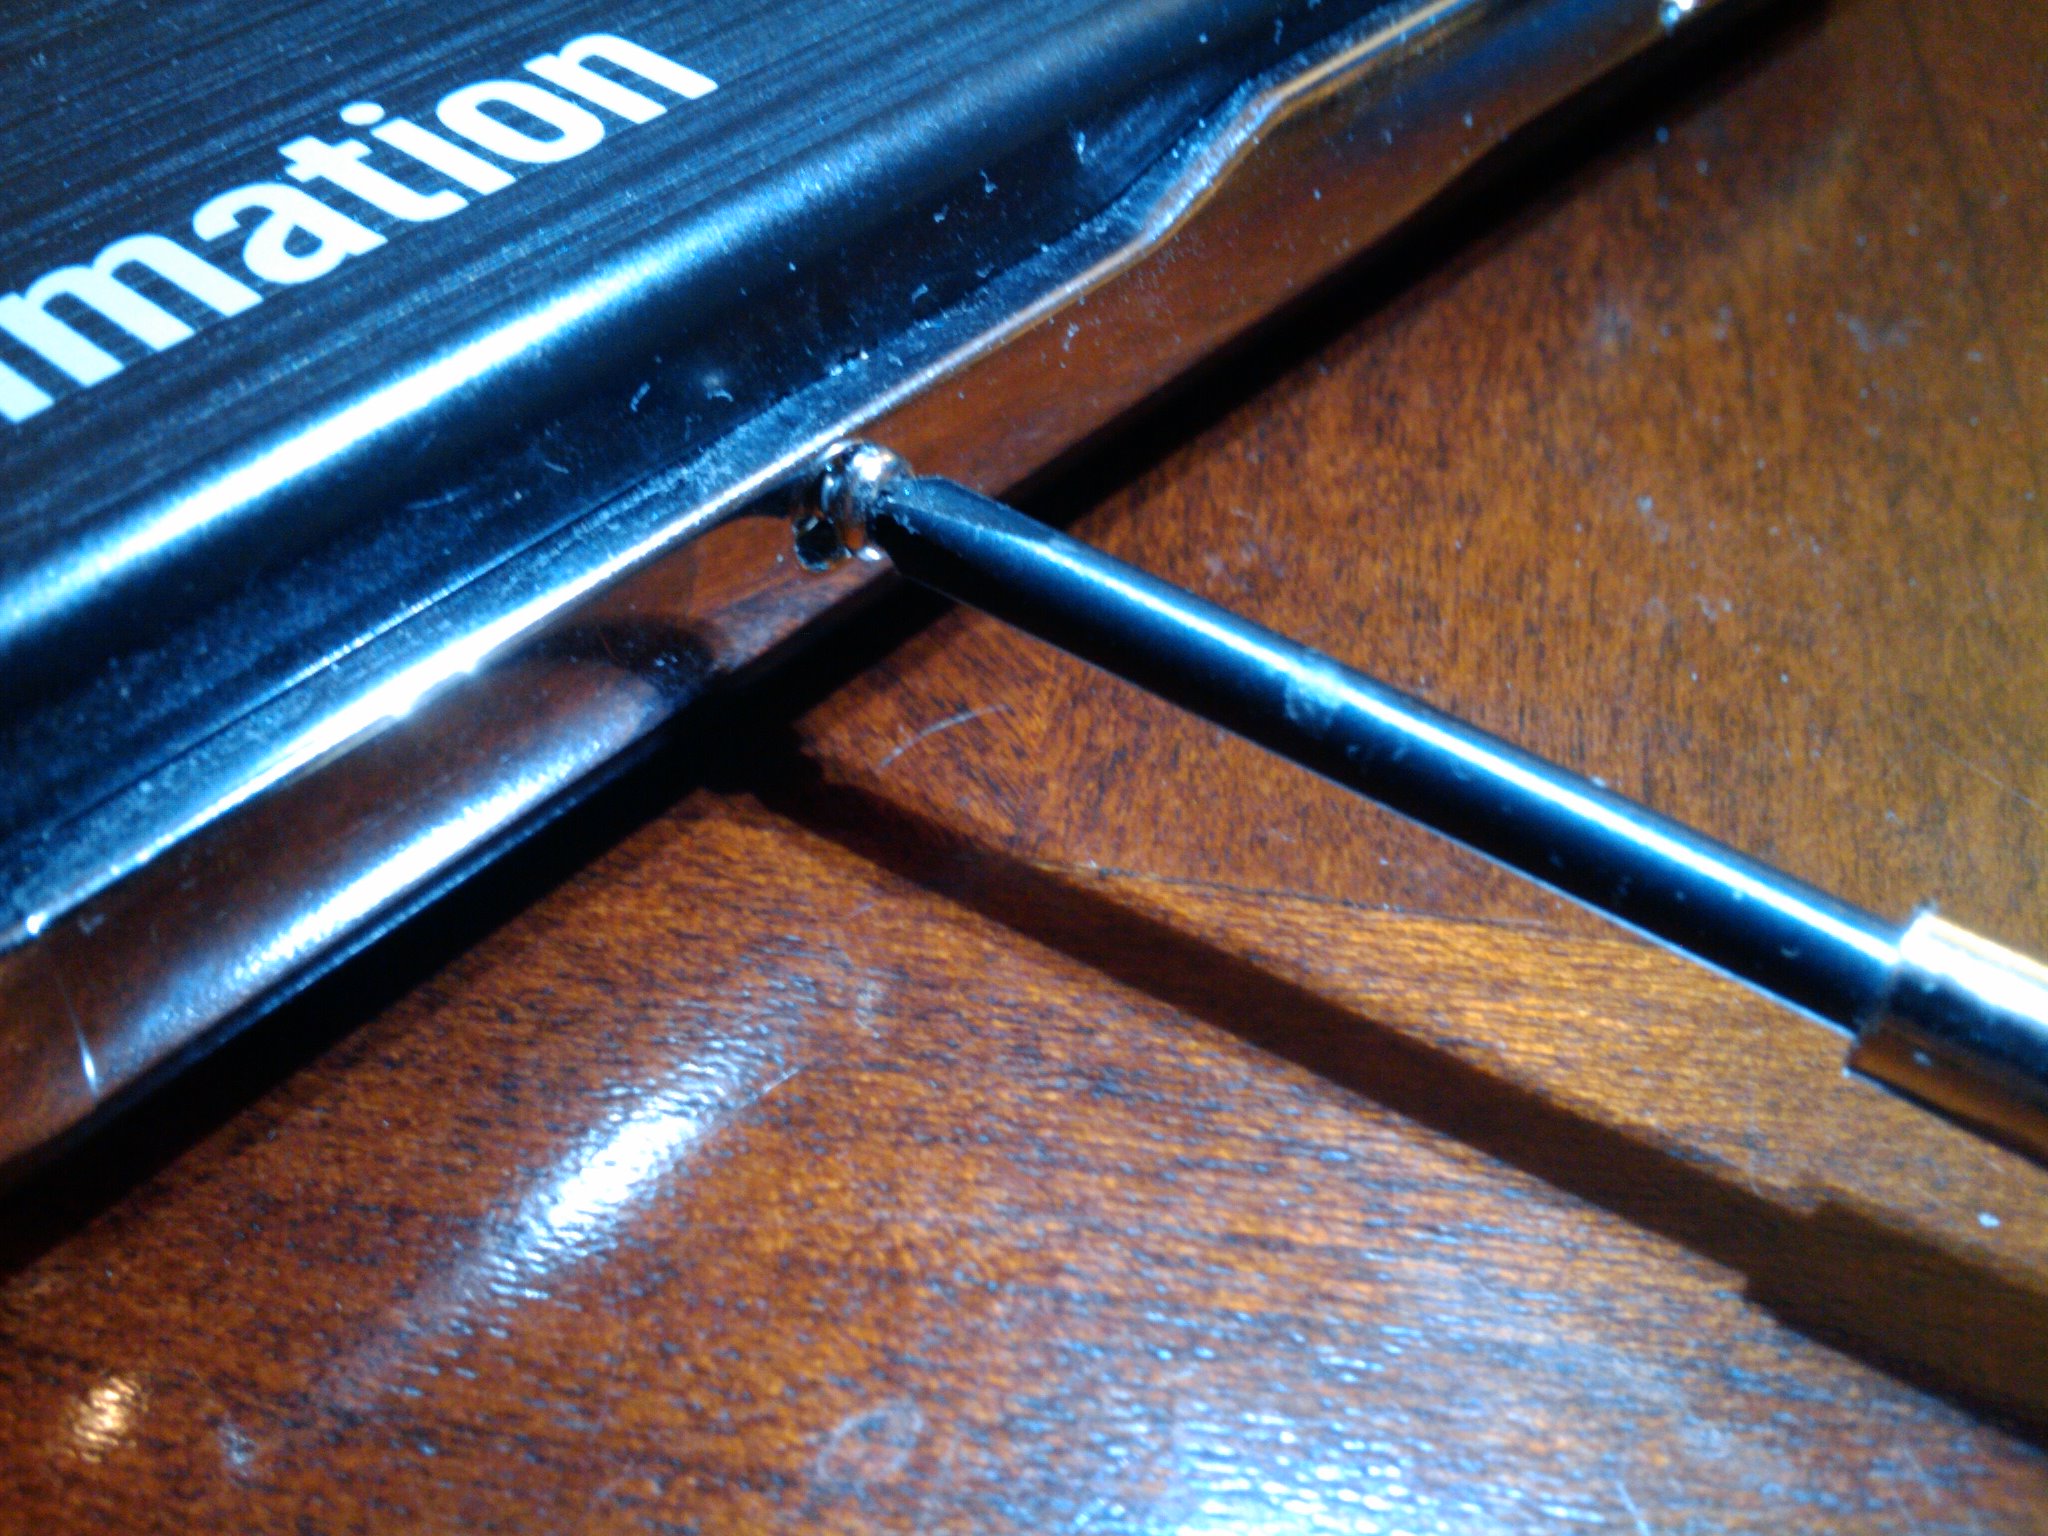
The hard-drive has four screws around the outside. You can kinda see them in the picture on the previous page. You have to remove these screws first. I used a Phillips #0 screw-driver to remove the screws:
]
]
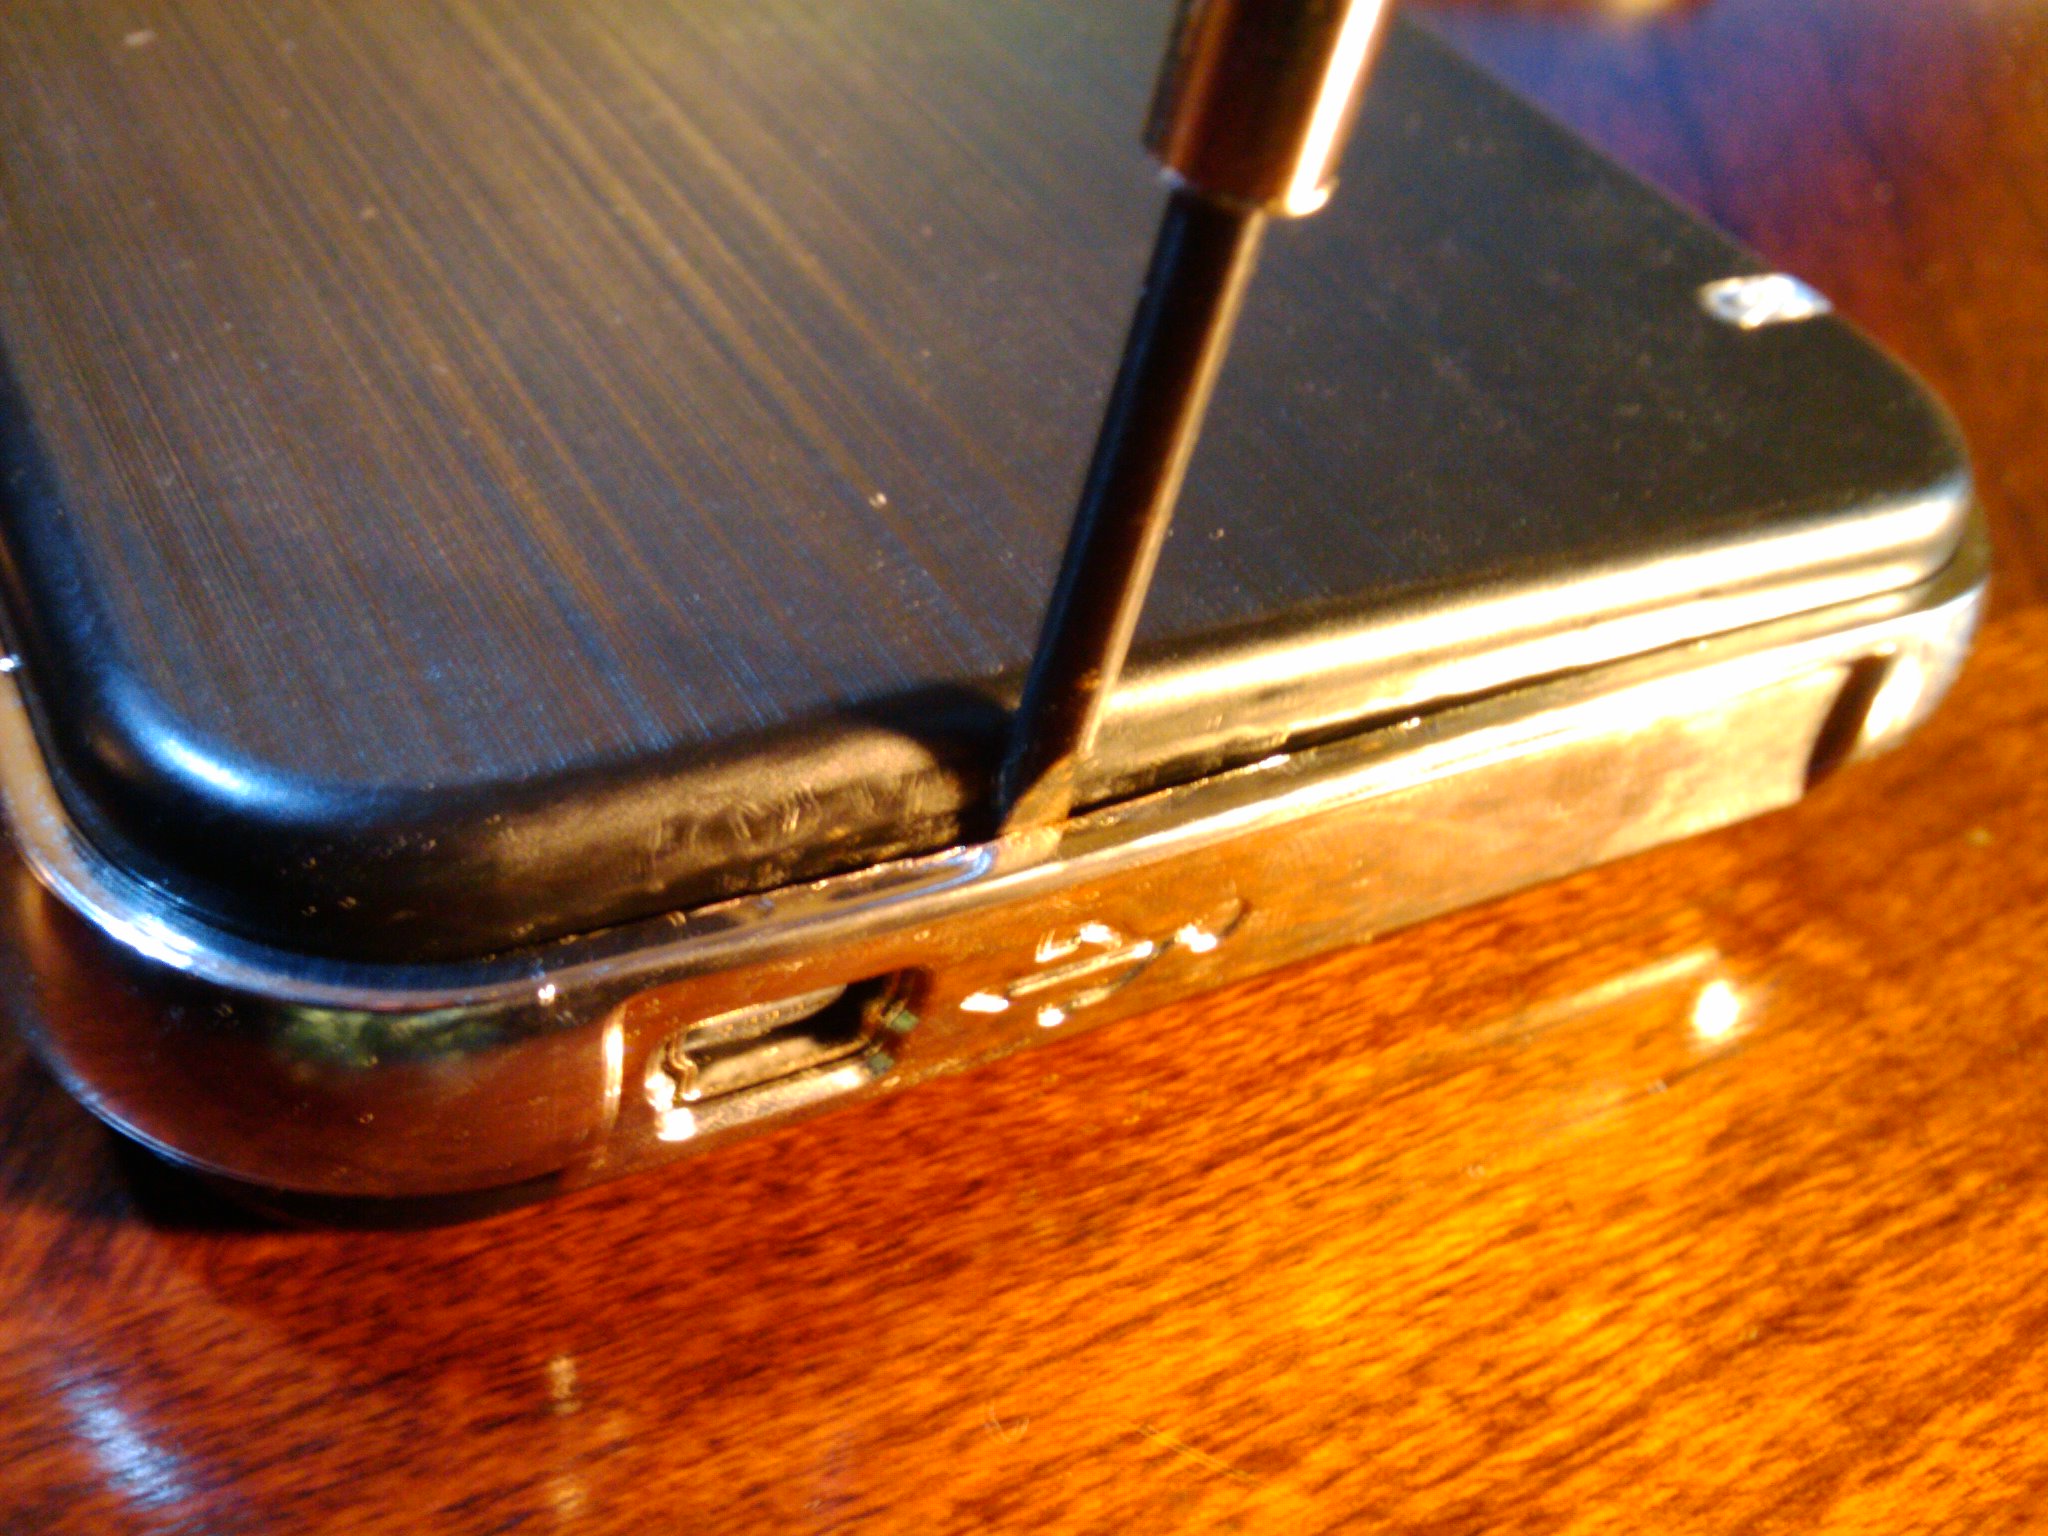
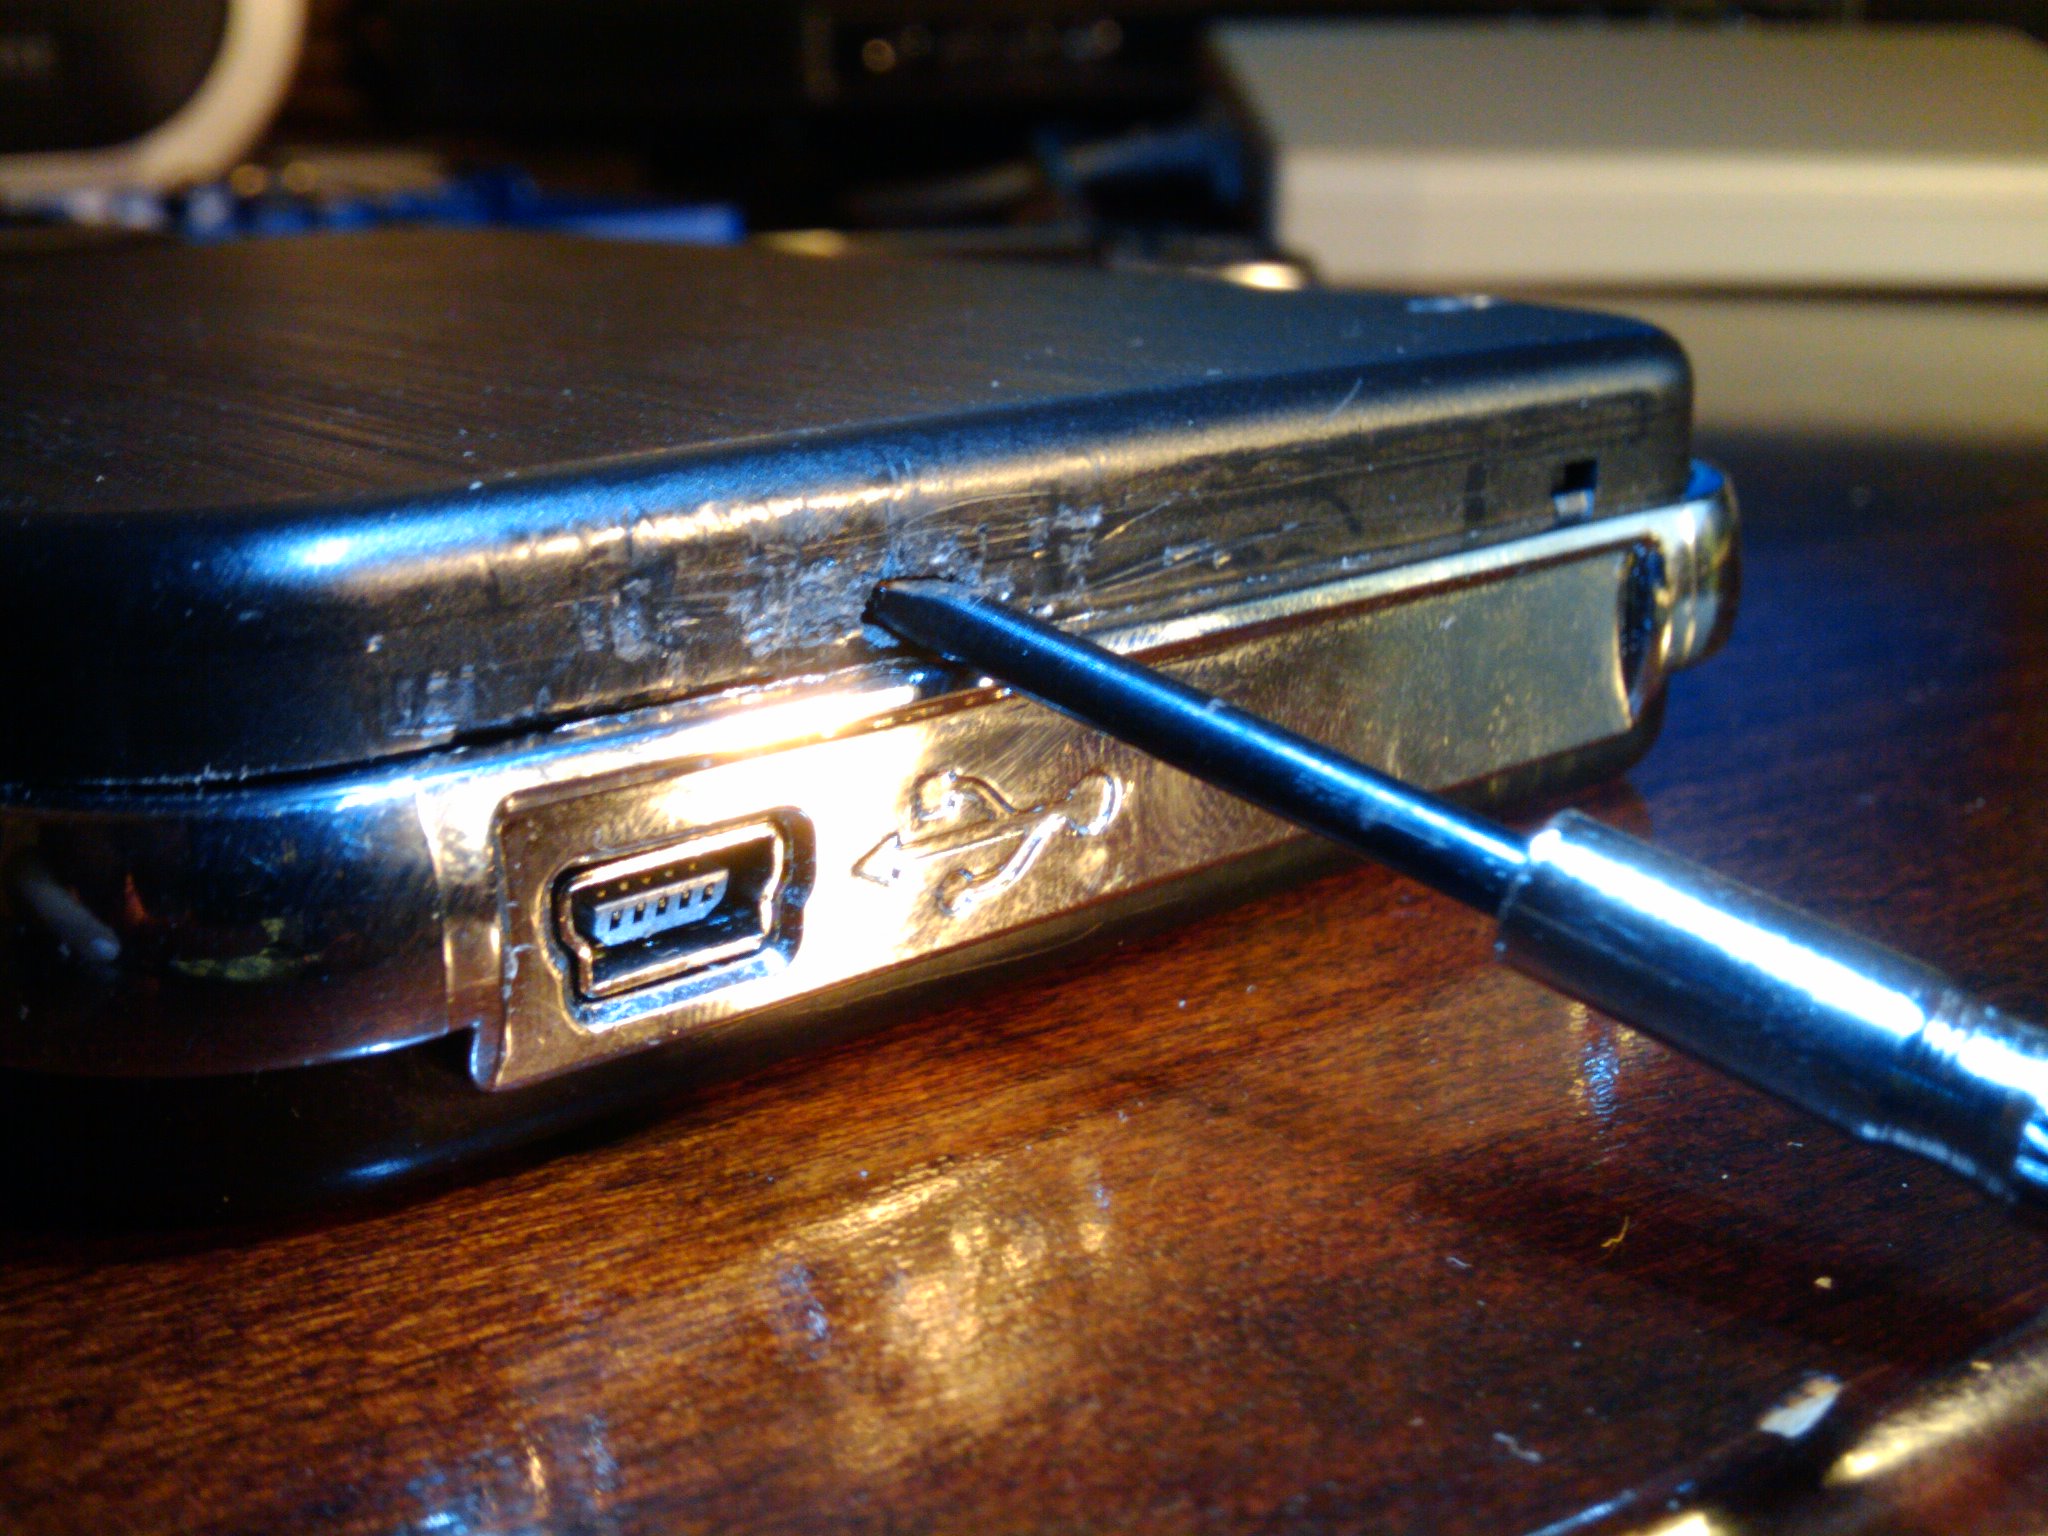
Now comes the hard part. After removing the screws, it’s not immediately obvious how to open up the case. I tried to pull the top and bottom apart, but it’s hard to get a good grip because the enclosure is so small. I eventually figured it out by taking a Phillips 2.4mm and wedging it between the chrome and the black plastic right above the USB port. Then I pushed into the enclosure and upwards. Trust me, this is not easy. The screwdriver will probably slip a few times. What you’re trying to do is to insert the edge of the screw driver into a little hole that’s behind the USB logo (it’s actually behind the middle of the logo). Make sure that you don’t push down too hard because you might damage the hard-drive controller. Once you’re able to hook into the hole, you should be able to push the top part of the enclosure up. It took me a few tries before I got it right; you can see it from the numerous scratches that I have on the plastic:
]
]
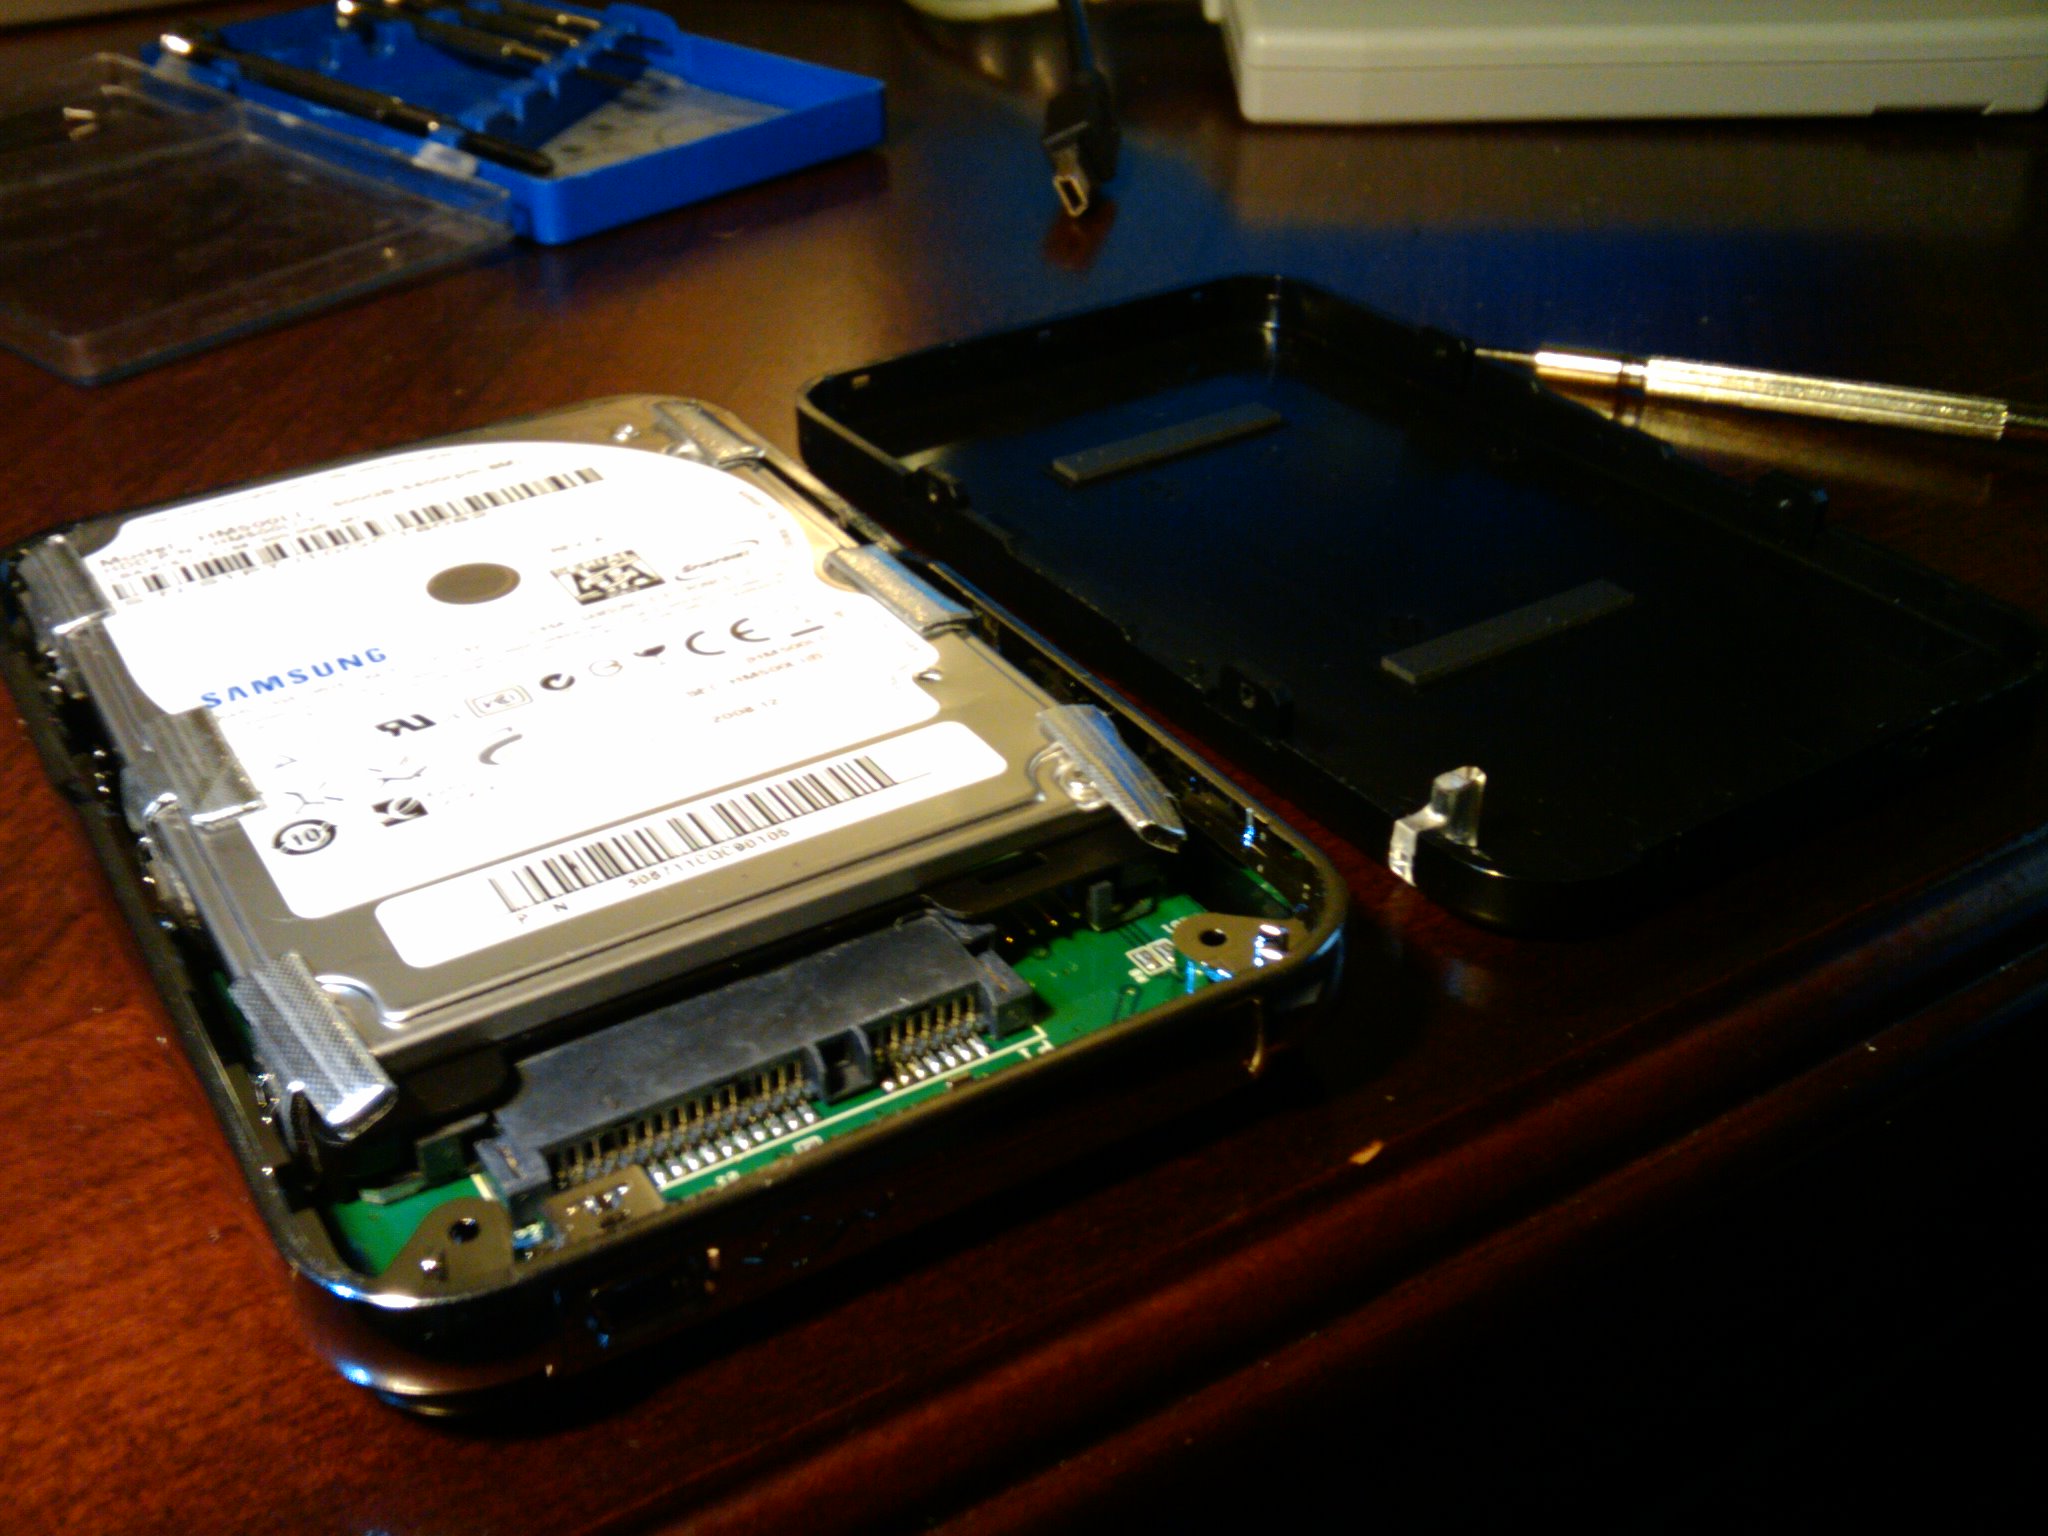
Once you remove the plastic cover, you’ll be able to see the 2.5" drive that’s inside the case. The rest of the disassembly is pretty easy.
]
]
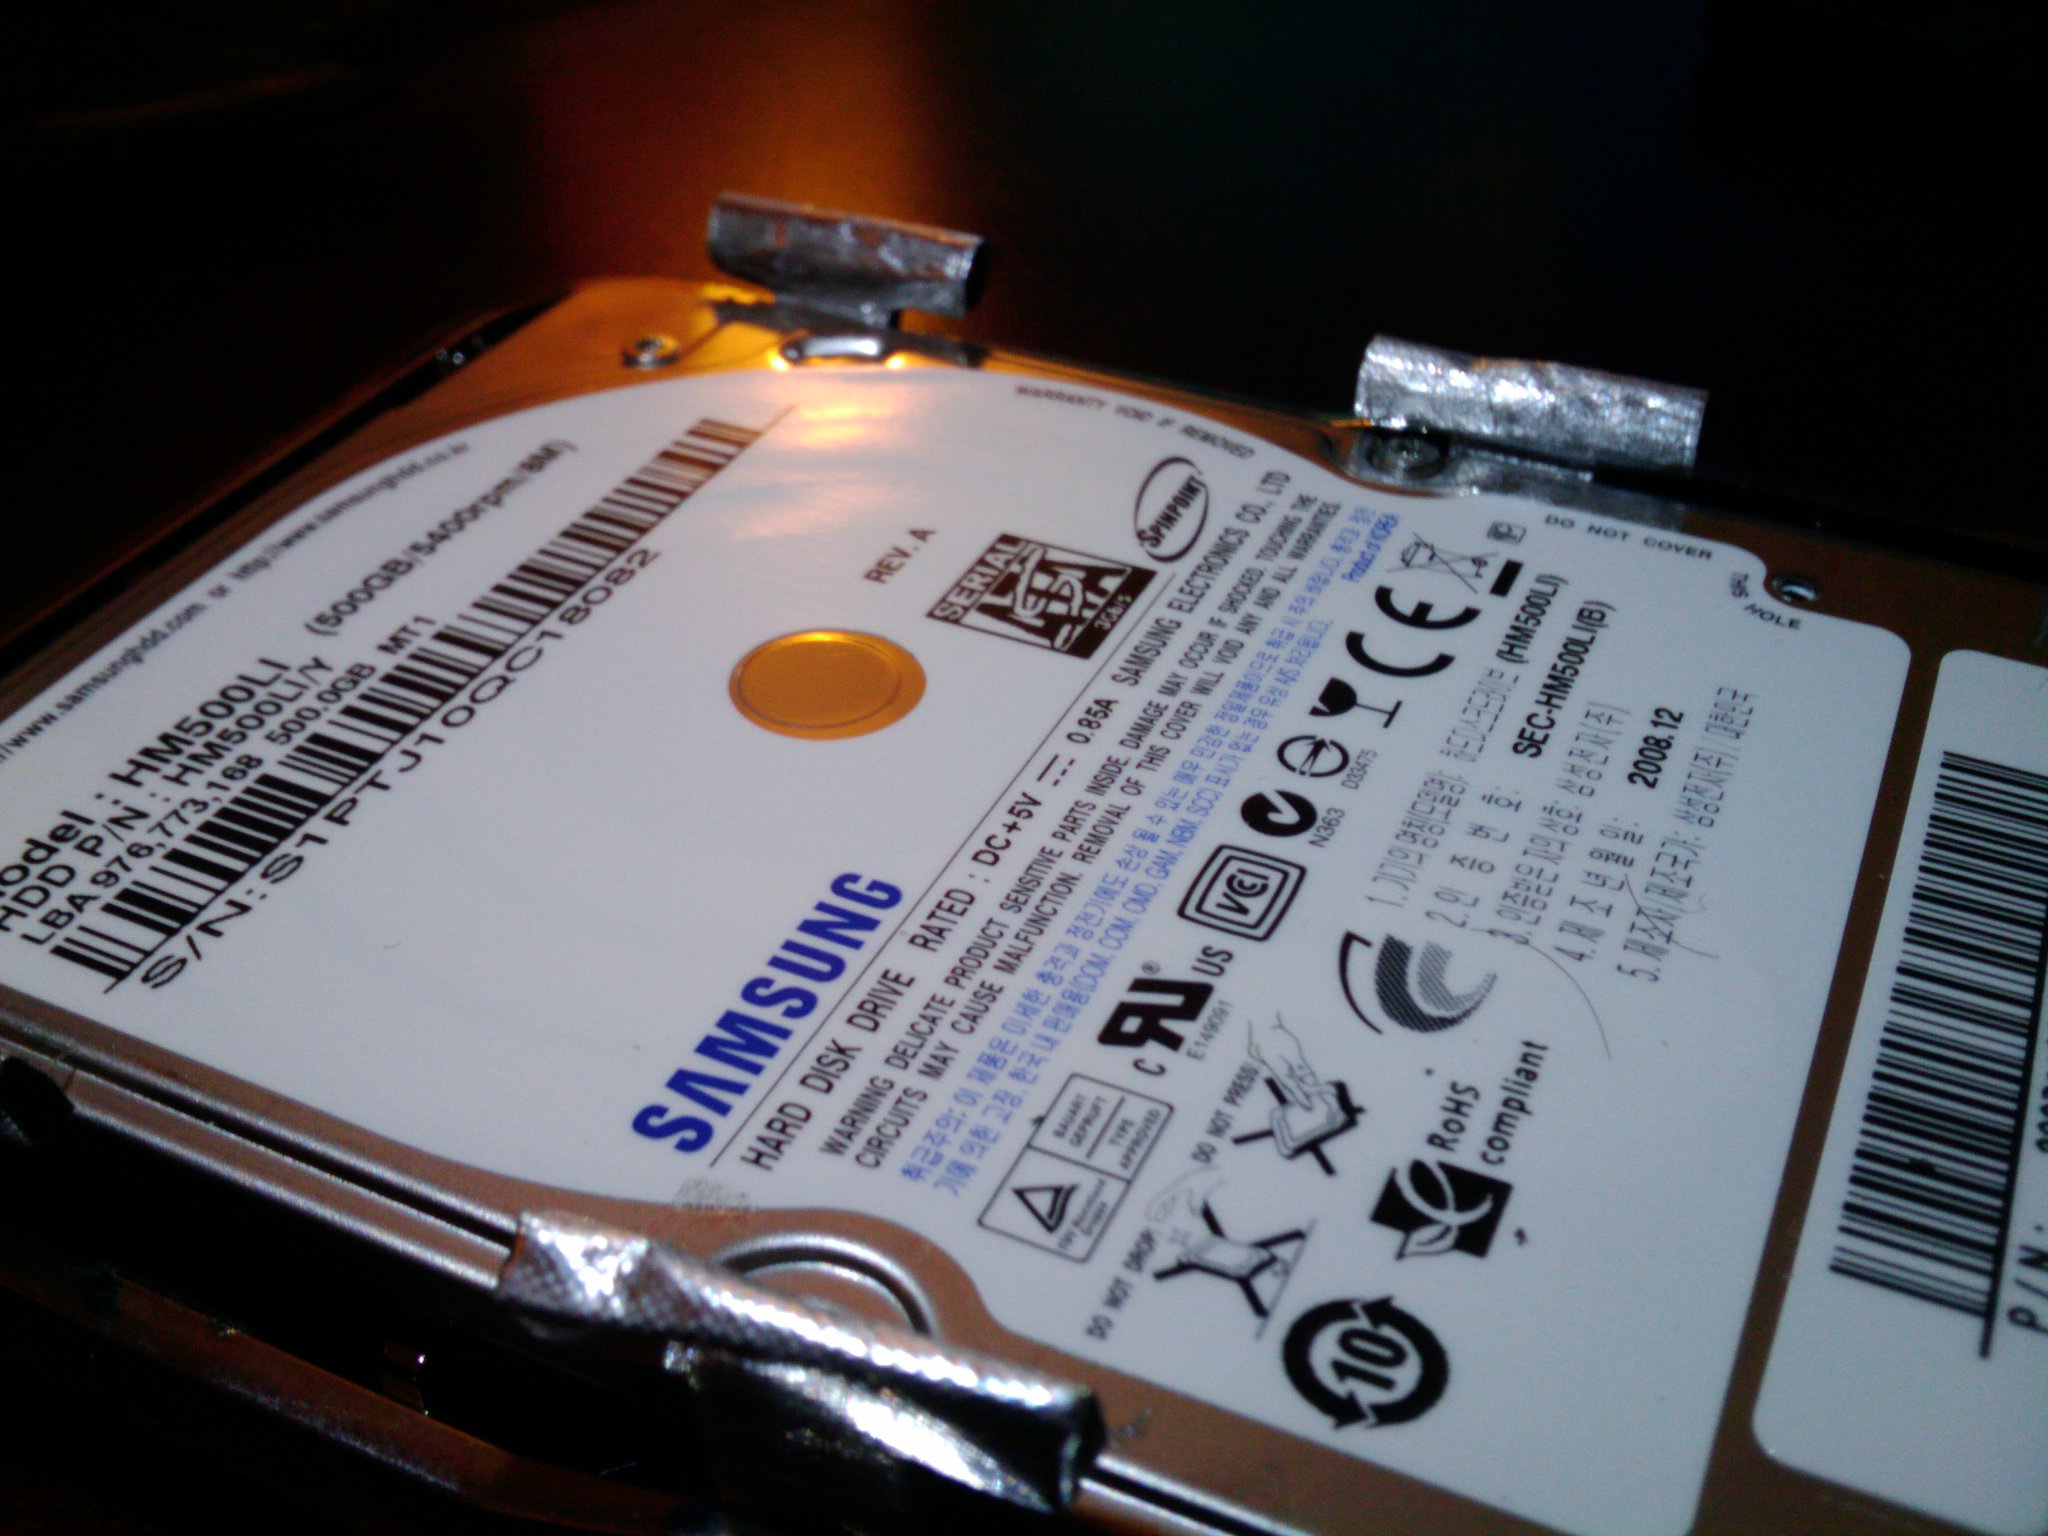
The drive has some sort of sticky "tape" on it. Maybe it’s there to hold it down. It comes off pretty easily. I’m hoping it’s not that important because I kinda lost three of them. :p
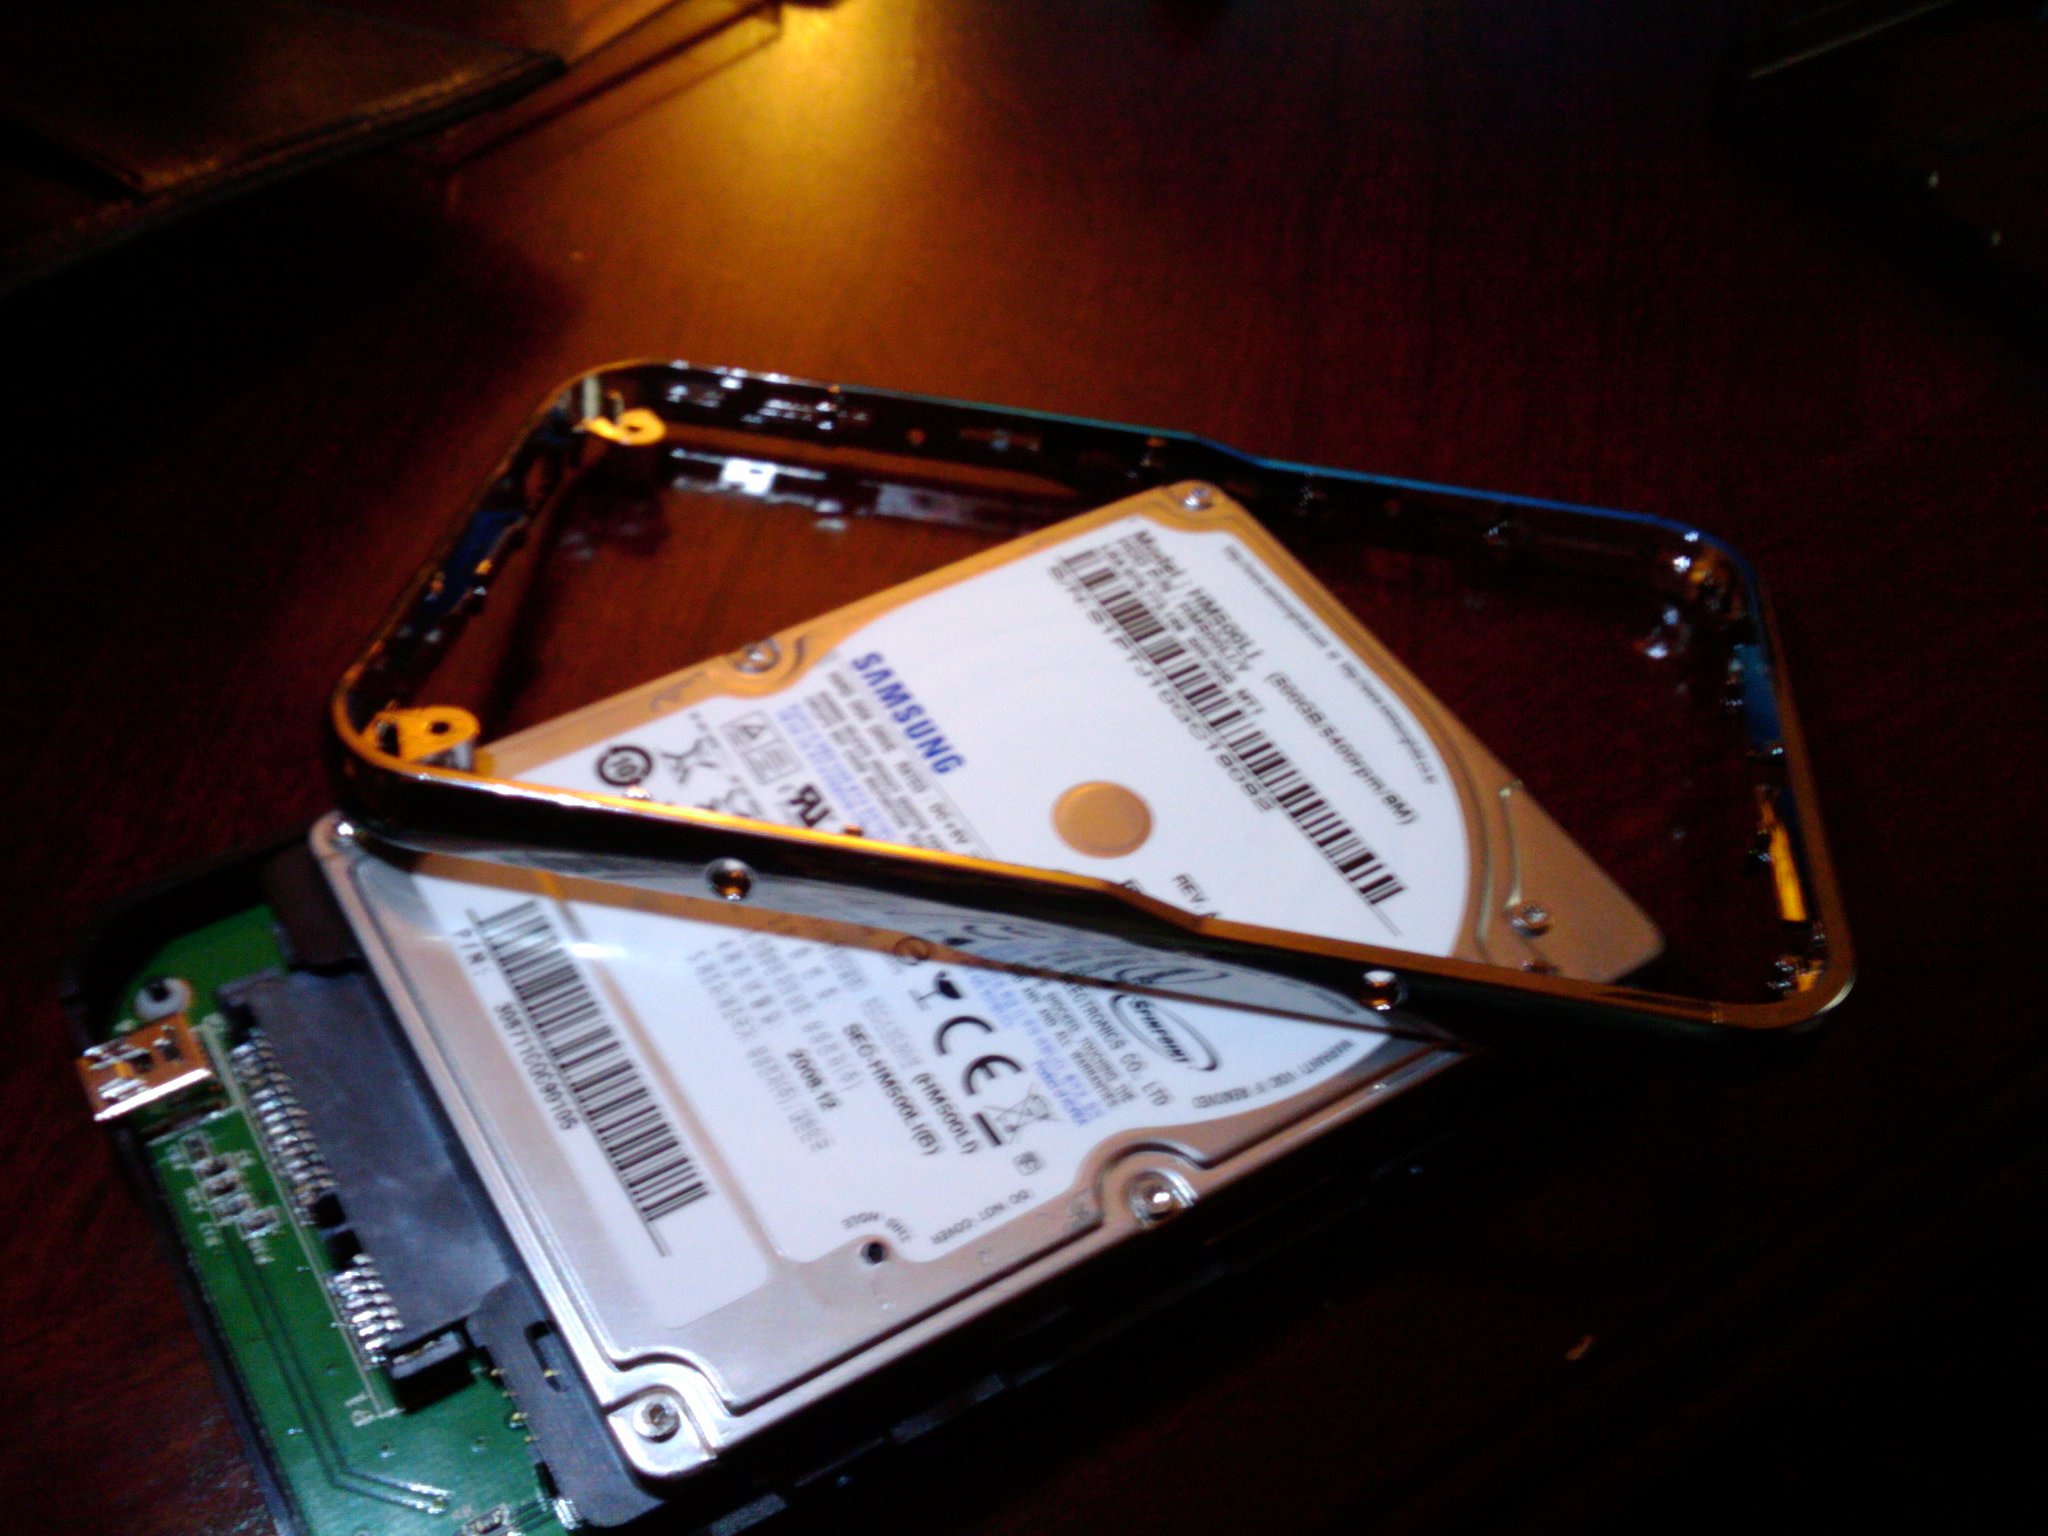
After you remove the tape, you’ll need to remove the shiny plastic/chrome that runs around the case. You just have to pull it a bit and it will come off pretty easily. Once you do that you should be able to pull out the entire drive along with the controller that’s attached to it on its backside.
]
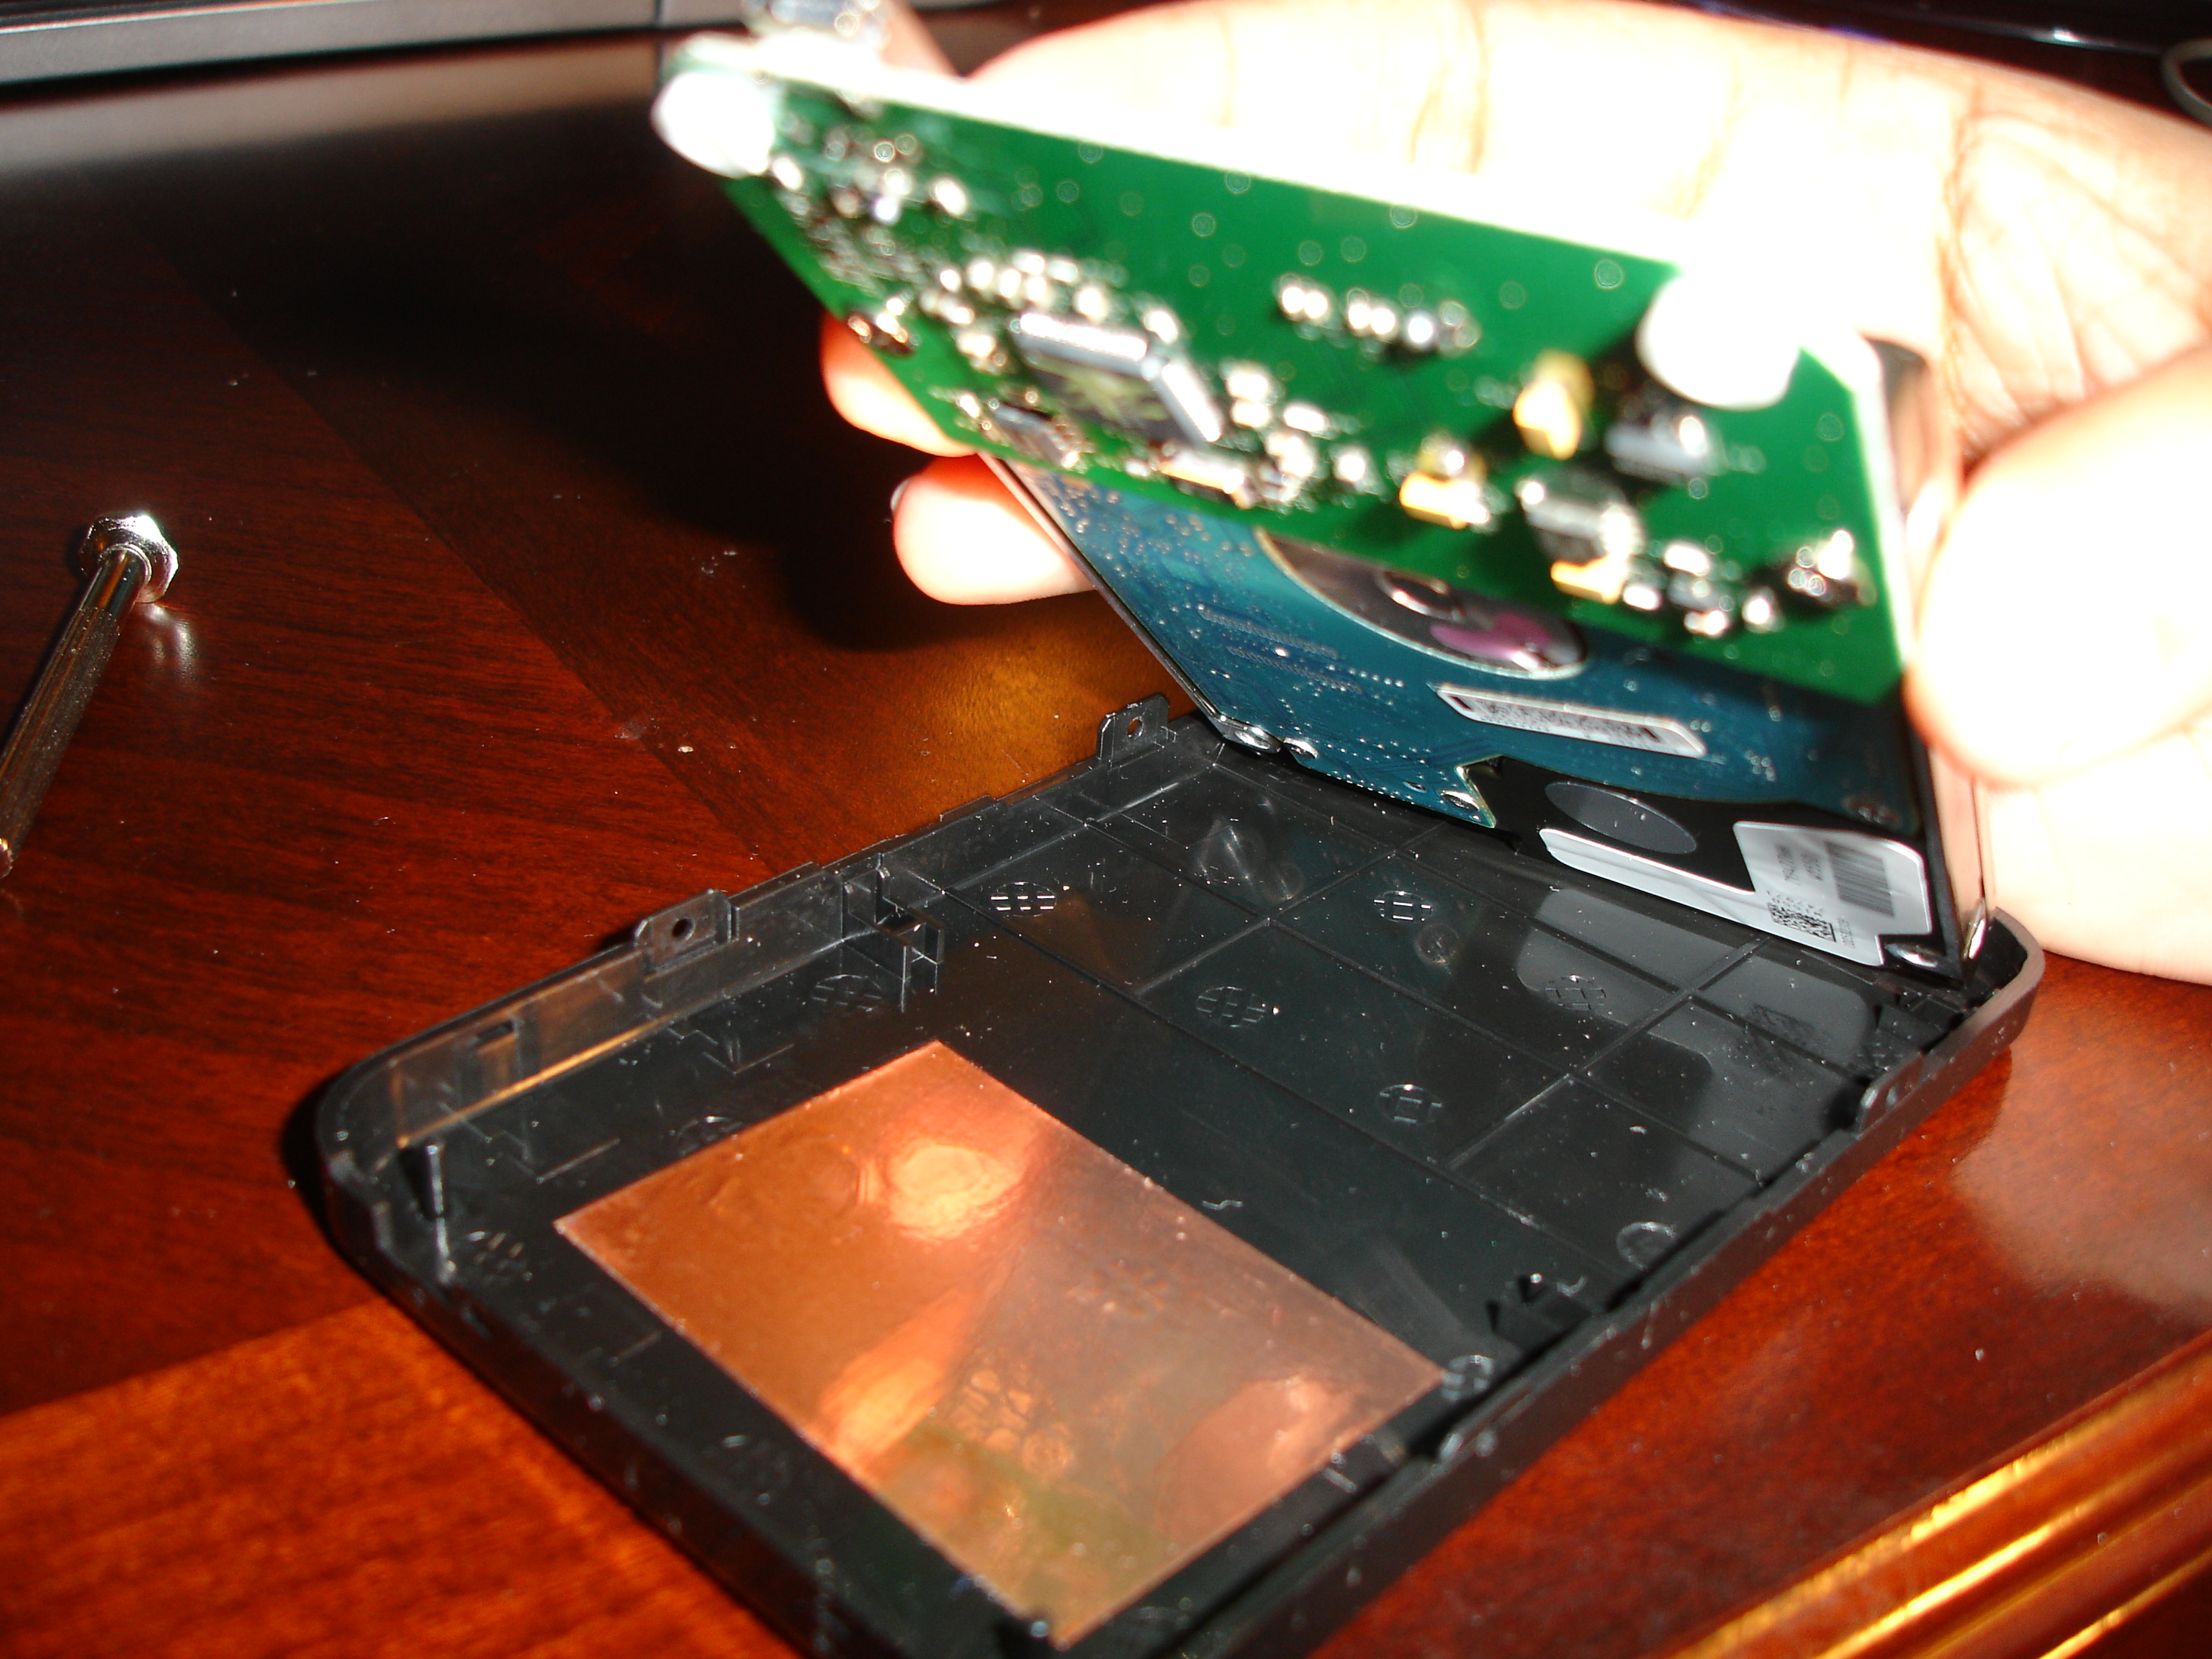
]
The controller is attached to the drive by two screws. Just remove these two screws and you should easily be able to disconnect the drive from the SATA ports on the controller.
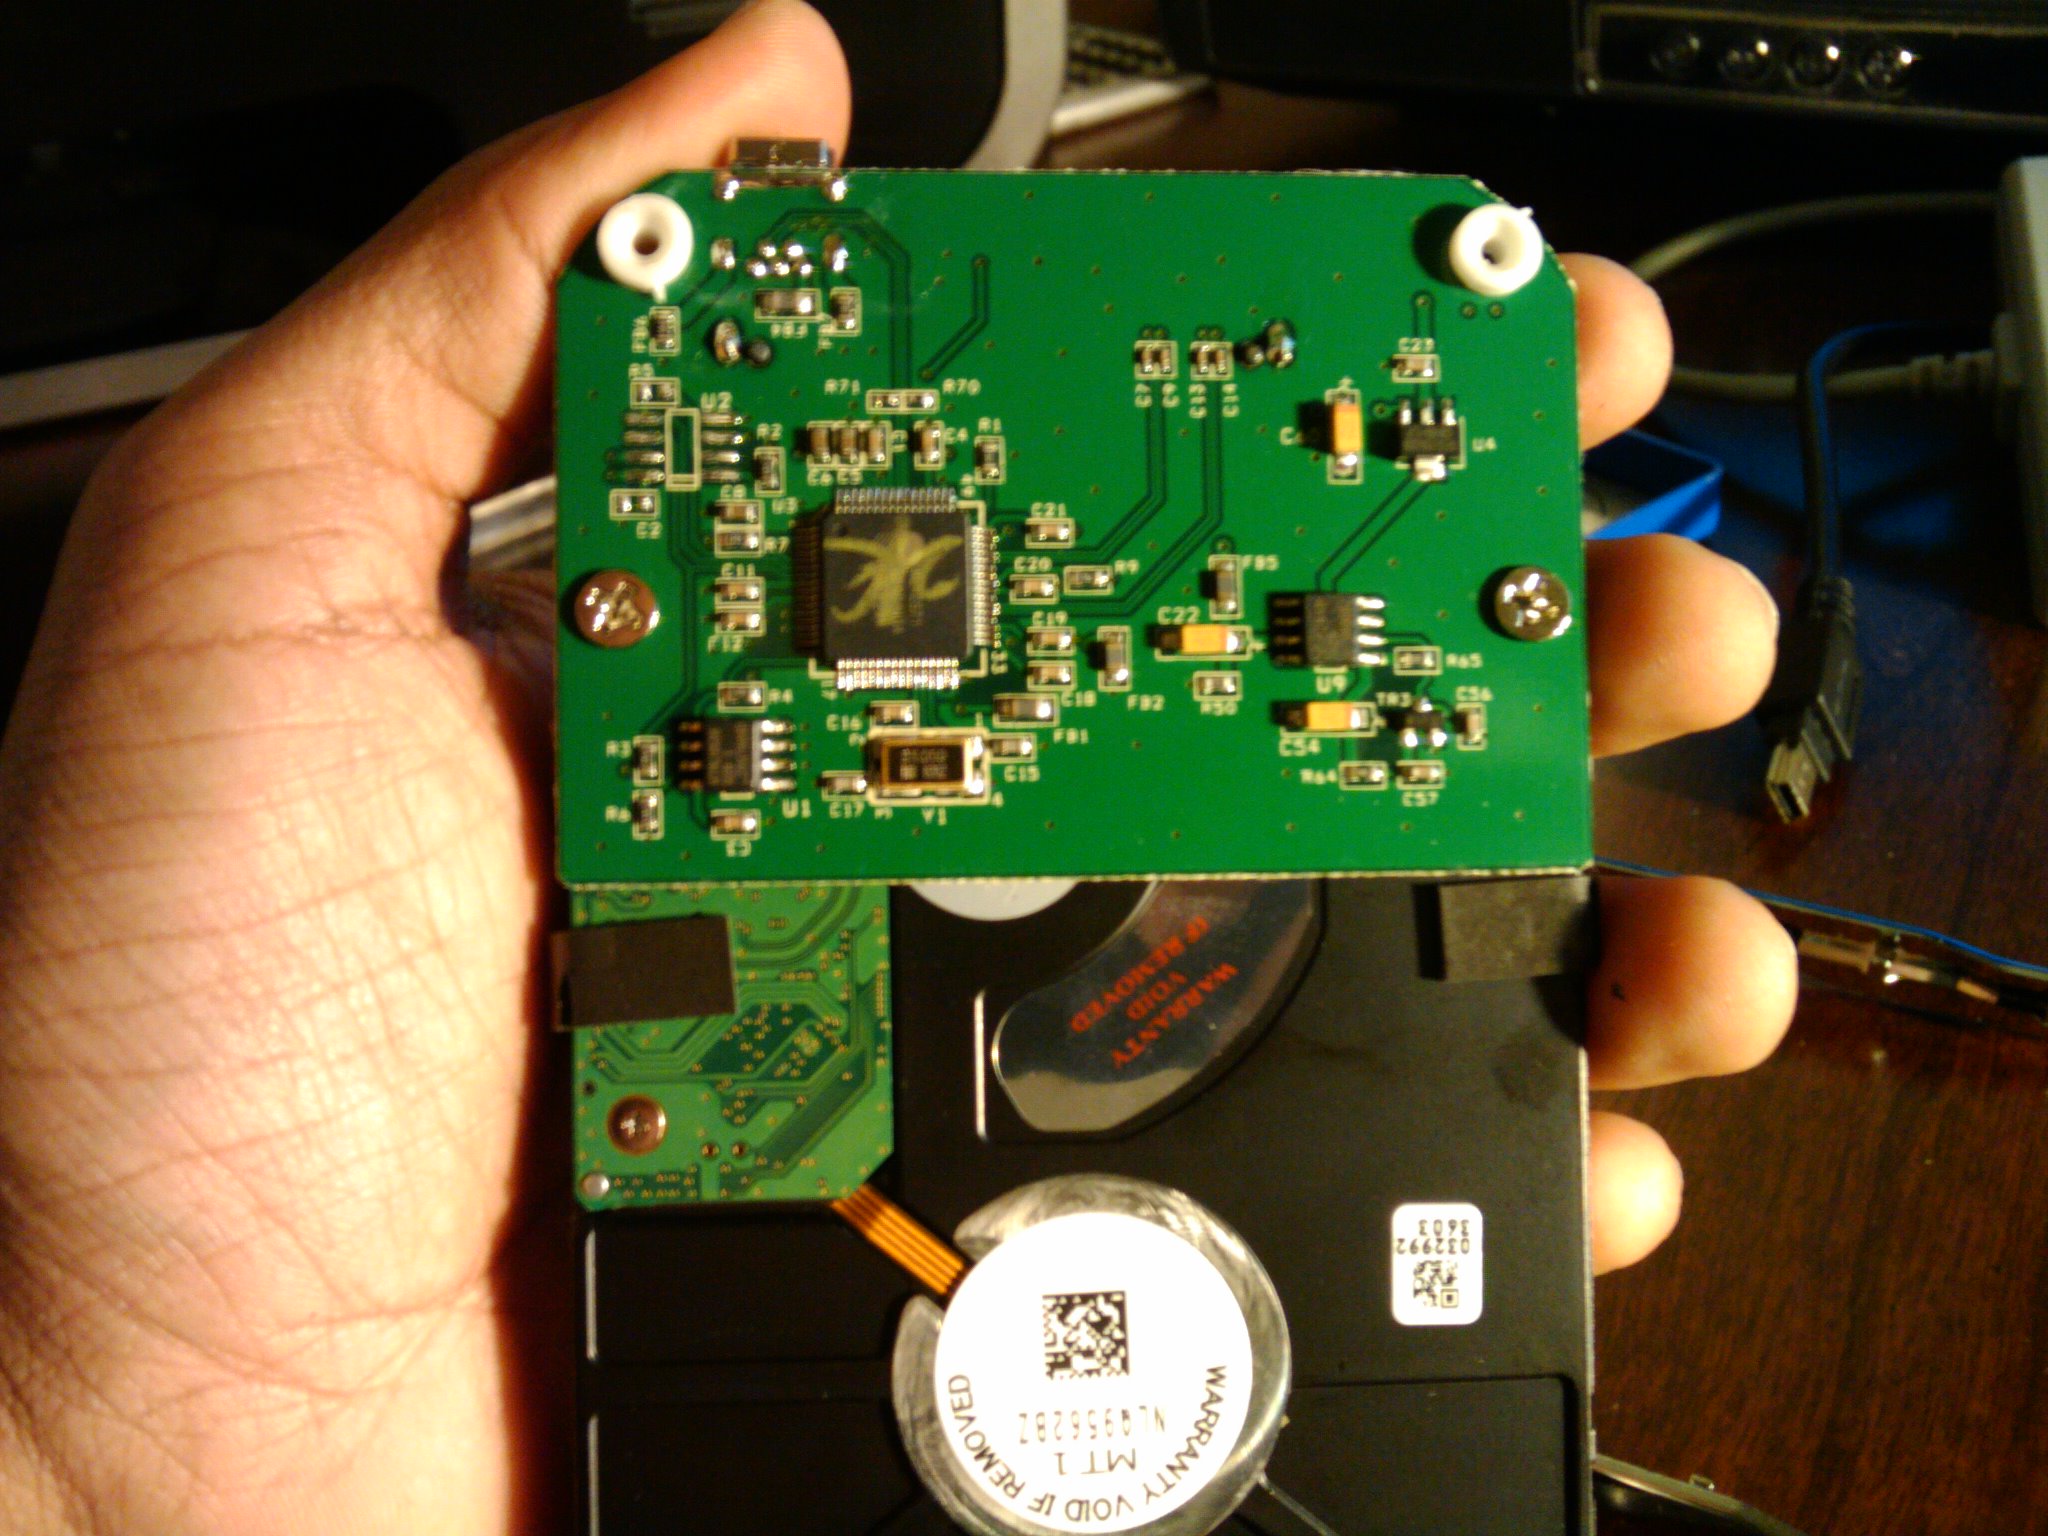
]
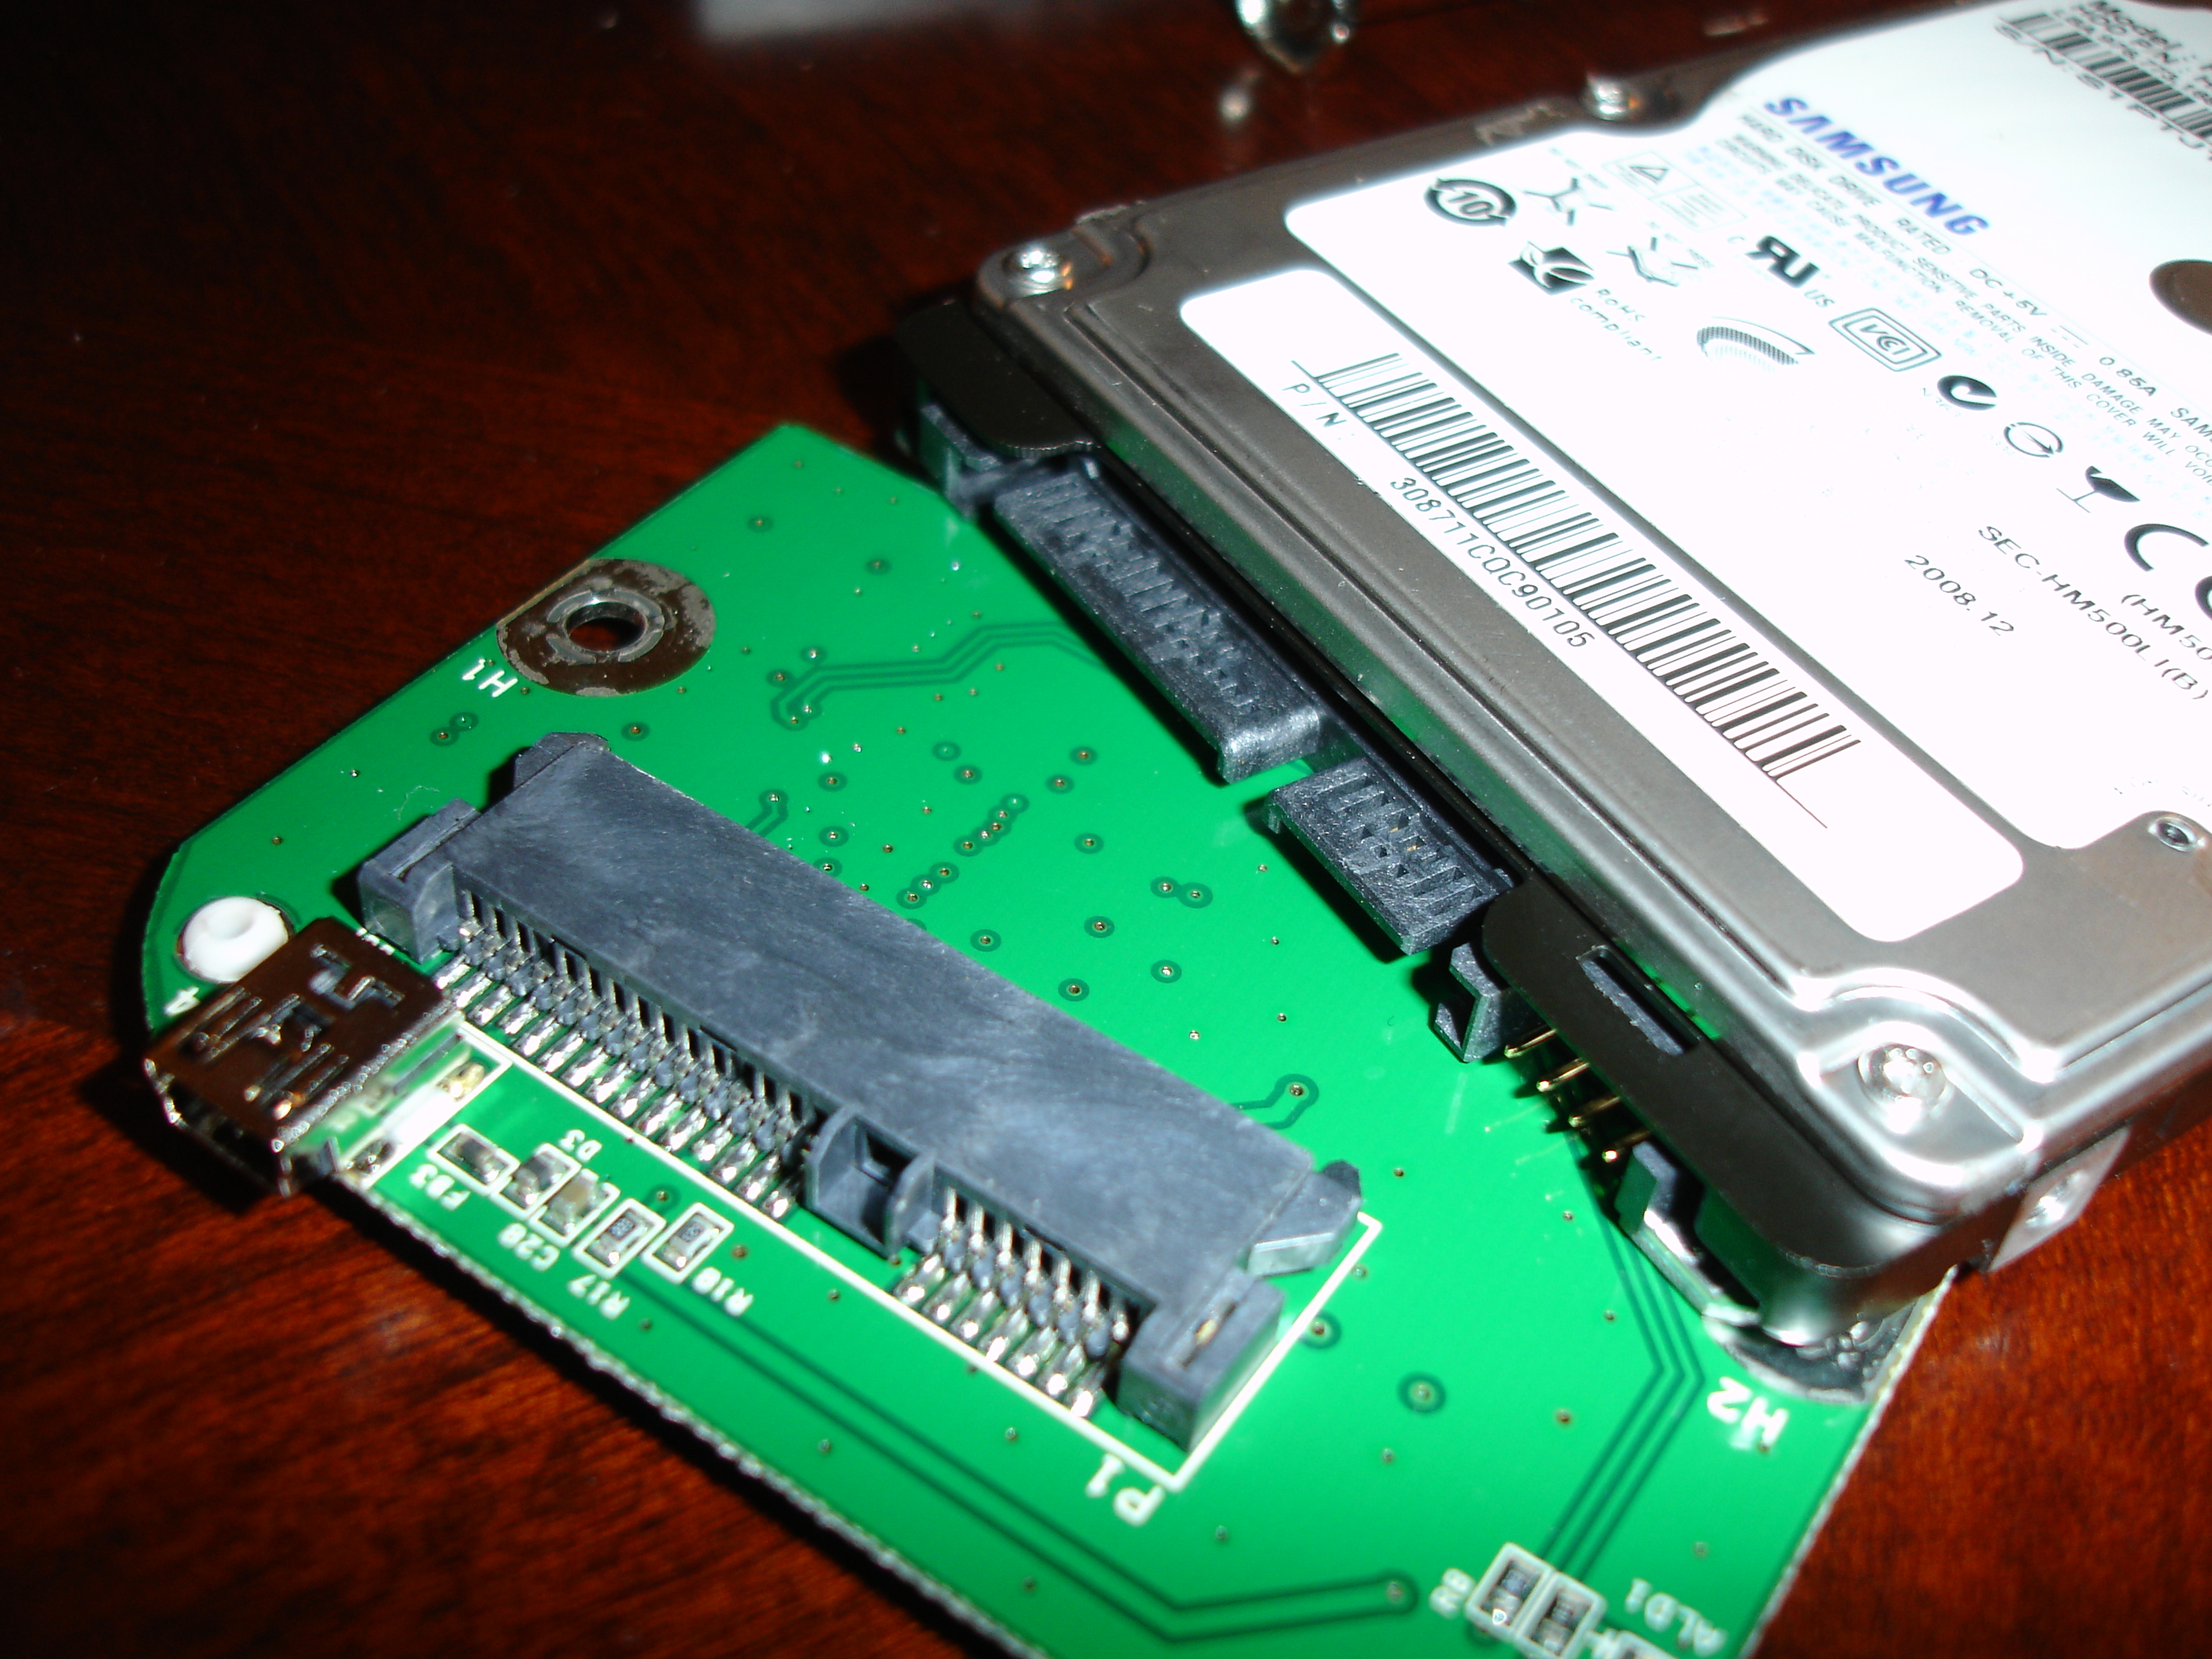
]
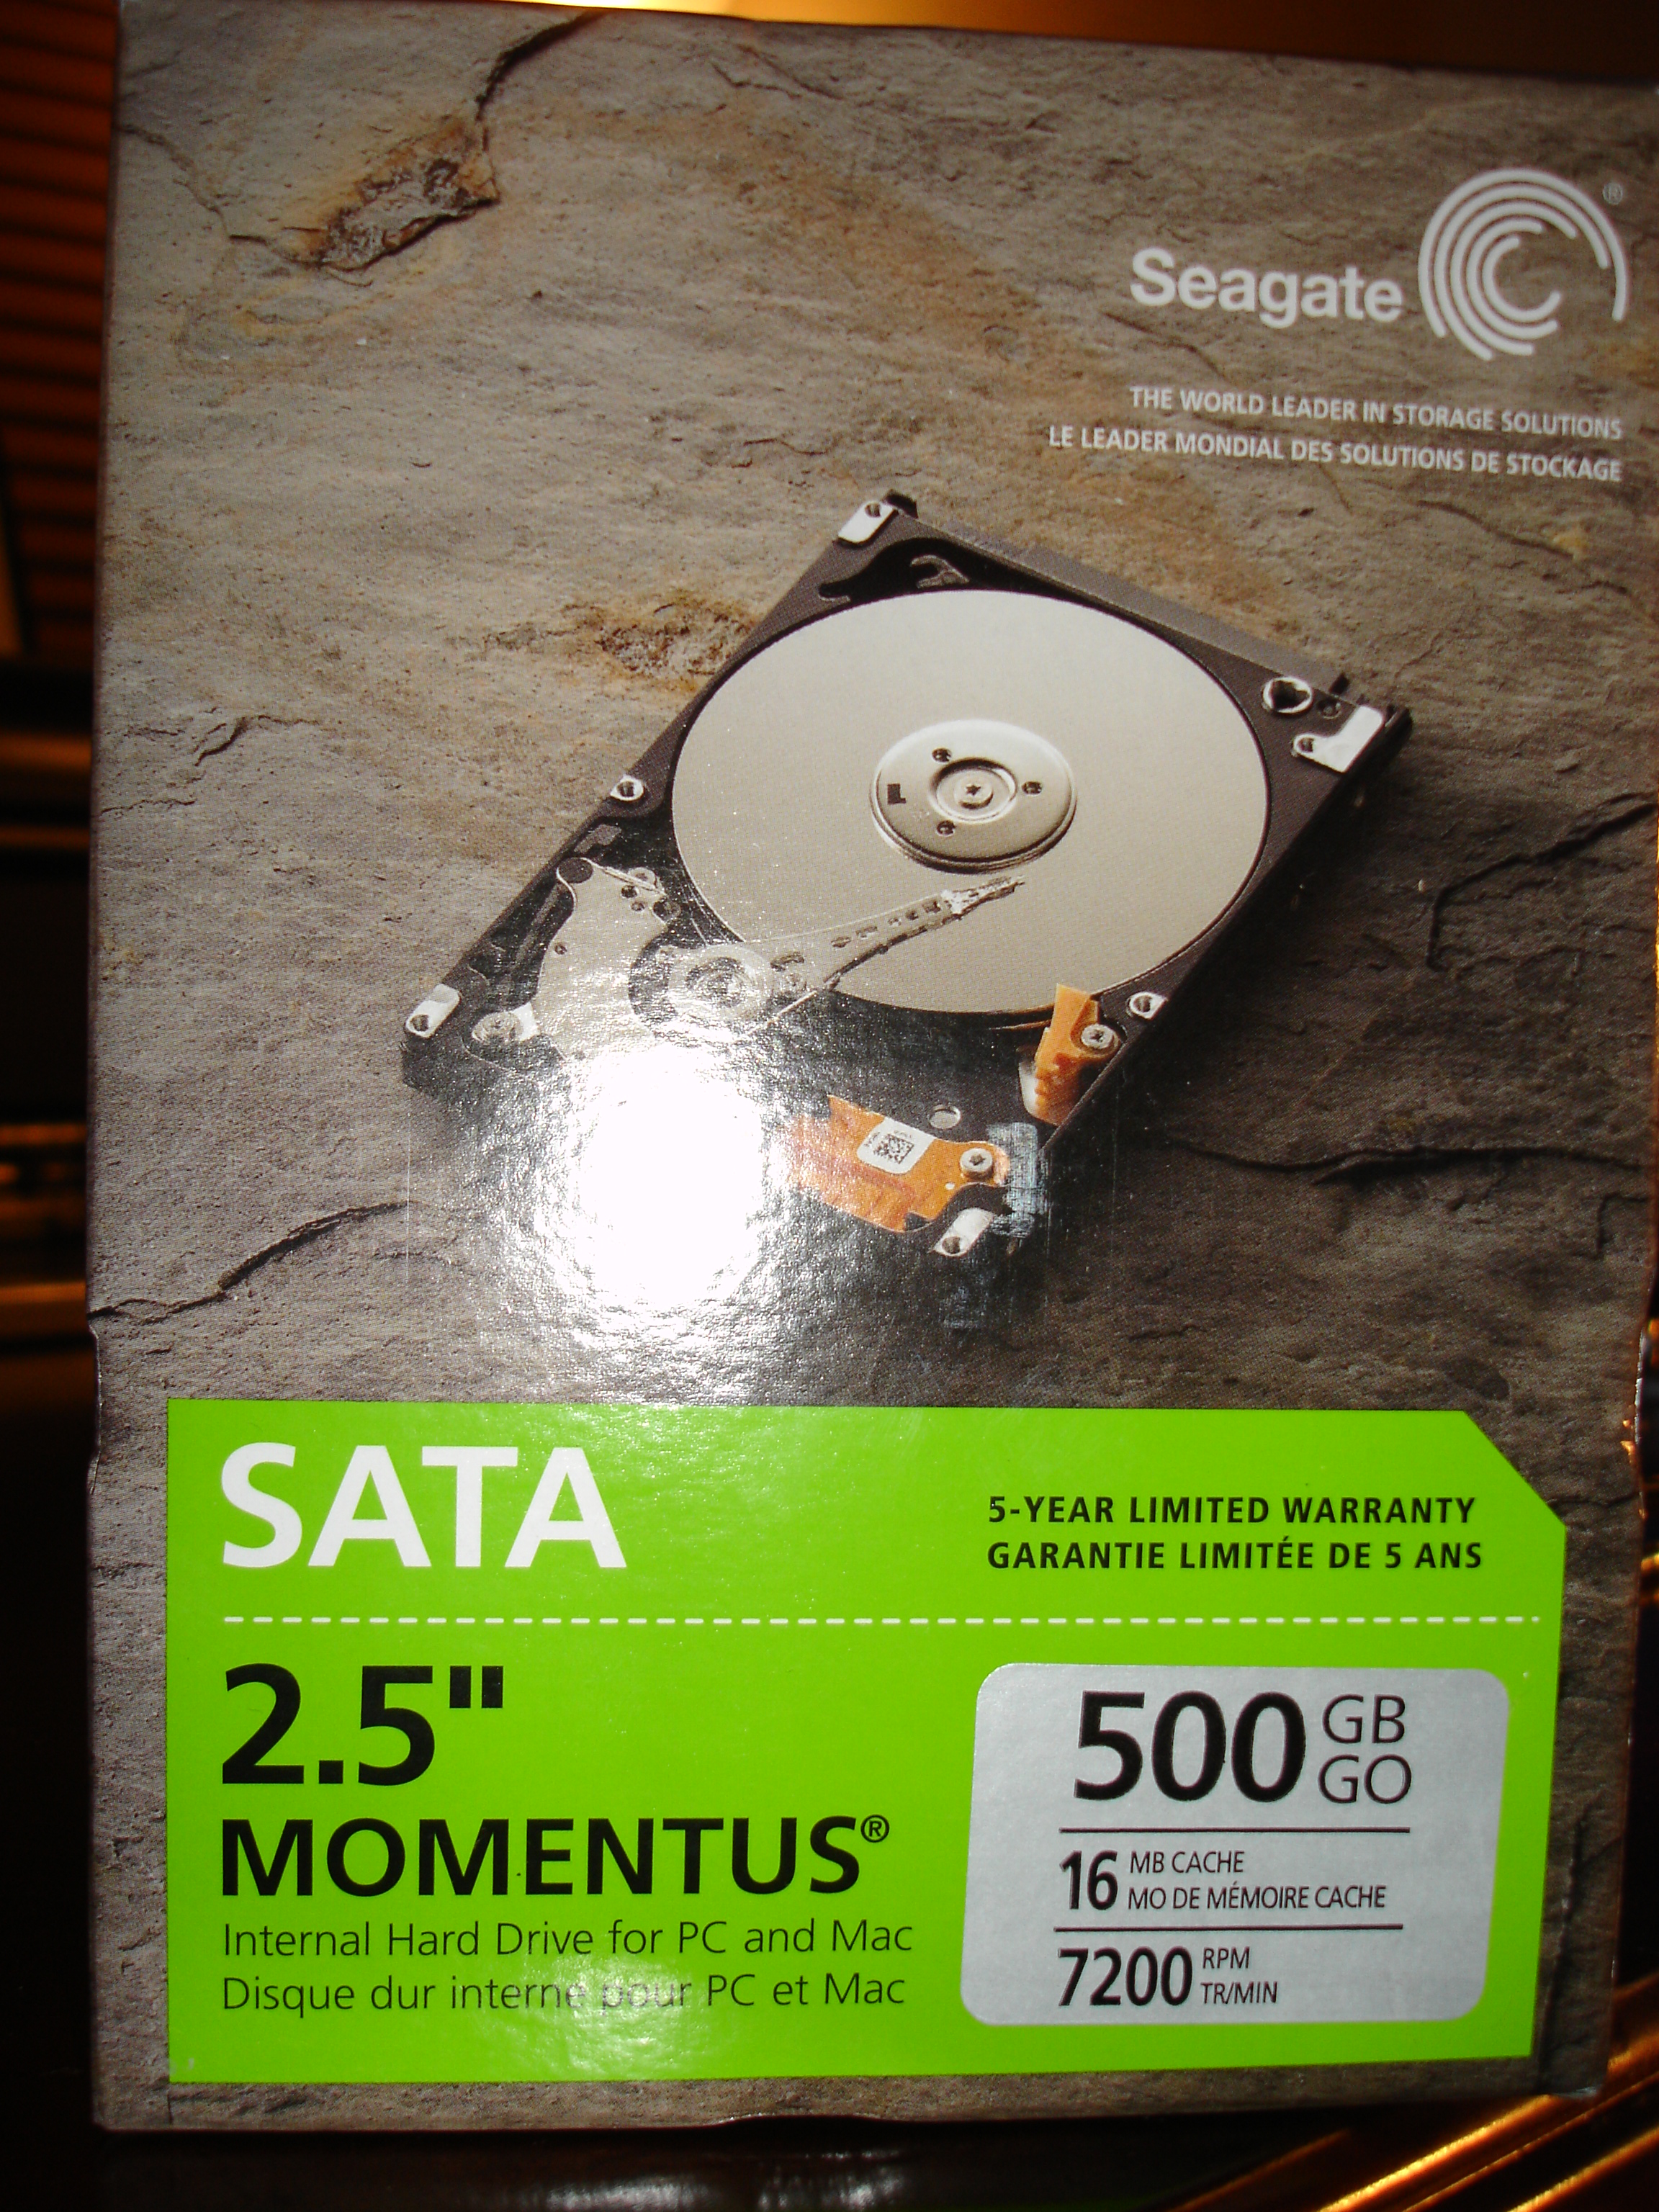
The drive that originally came with the Apollo is a Samsung HM500LI 500GB (8MB cache, 5400 rpm). I replaced that drive with a Seagate Momentus 500GB (16MB cache, 5400 rpm). You can use any 2.5" SATA drive. You could probably even use a drive that runs at 7200 rpm, but that will generate a lot of heat and the enclosure doesn’t have any ventilation.
]
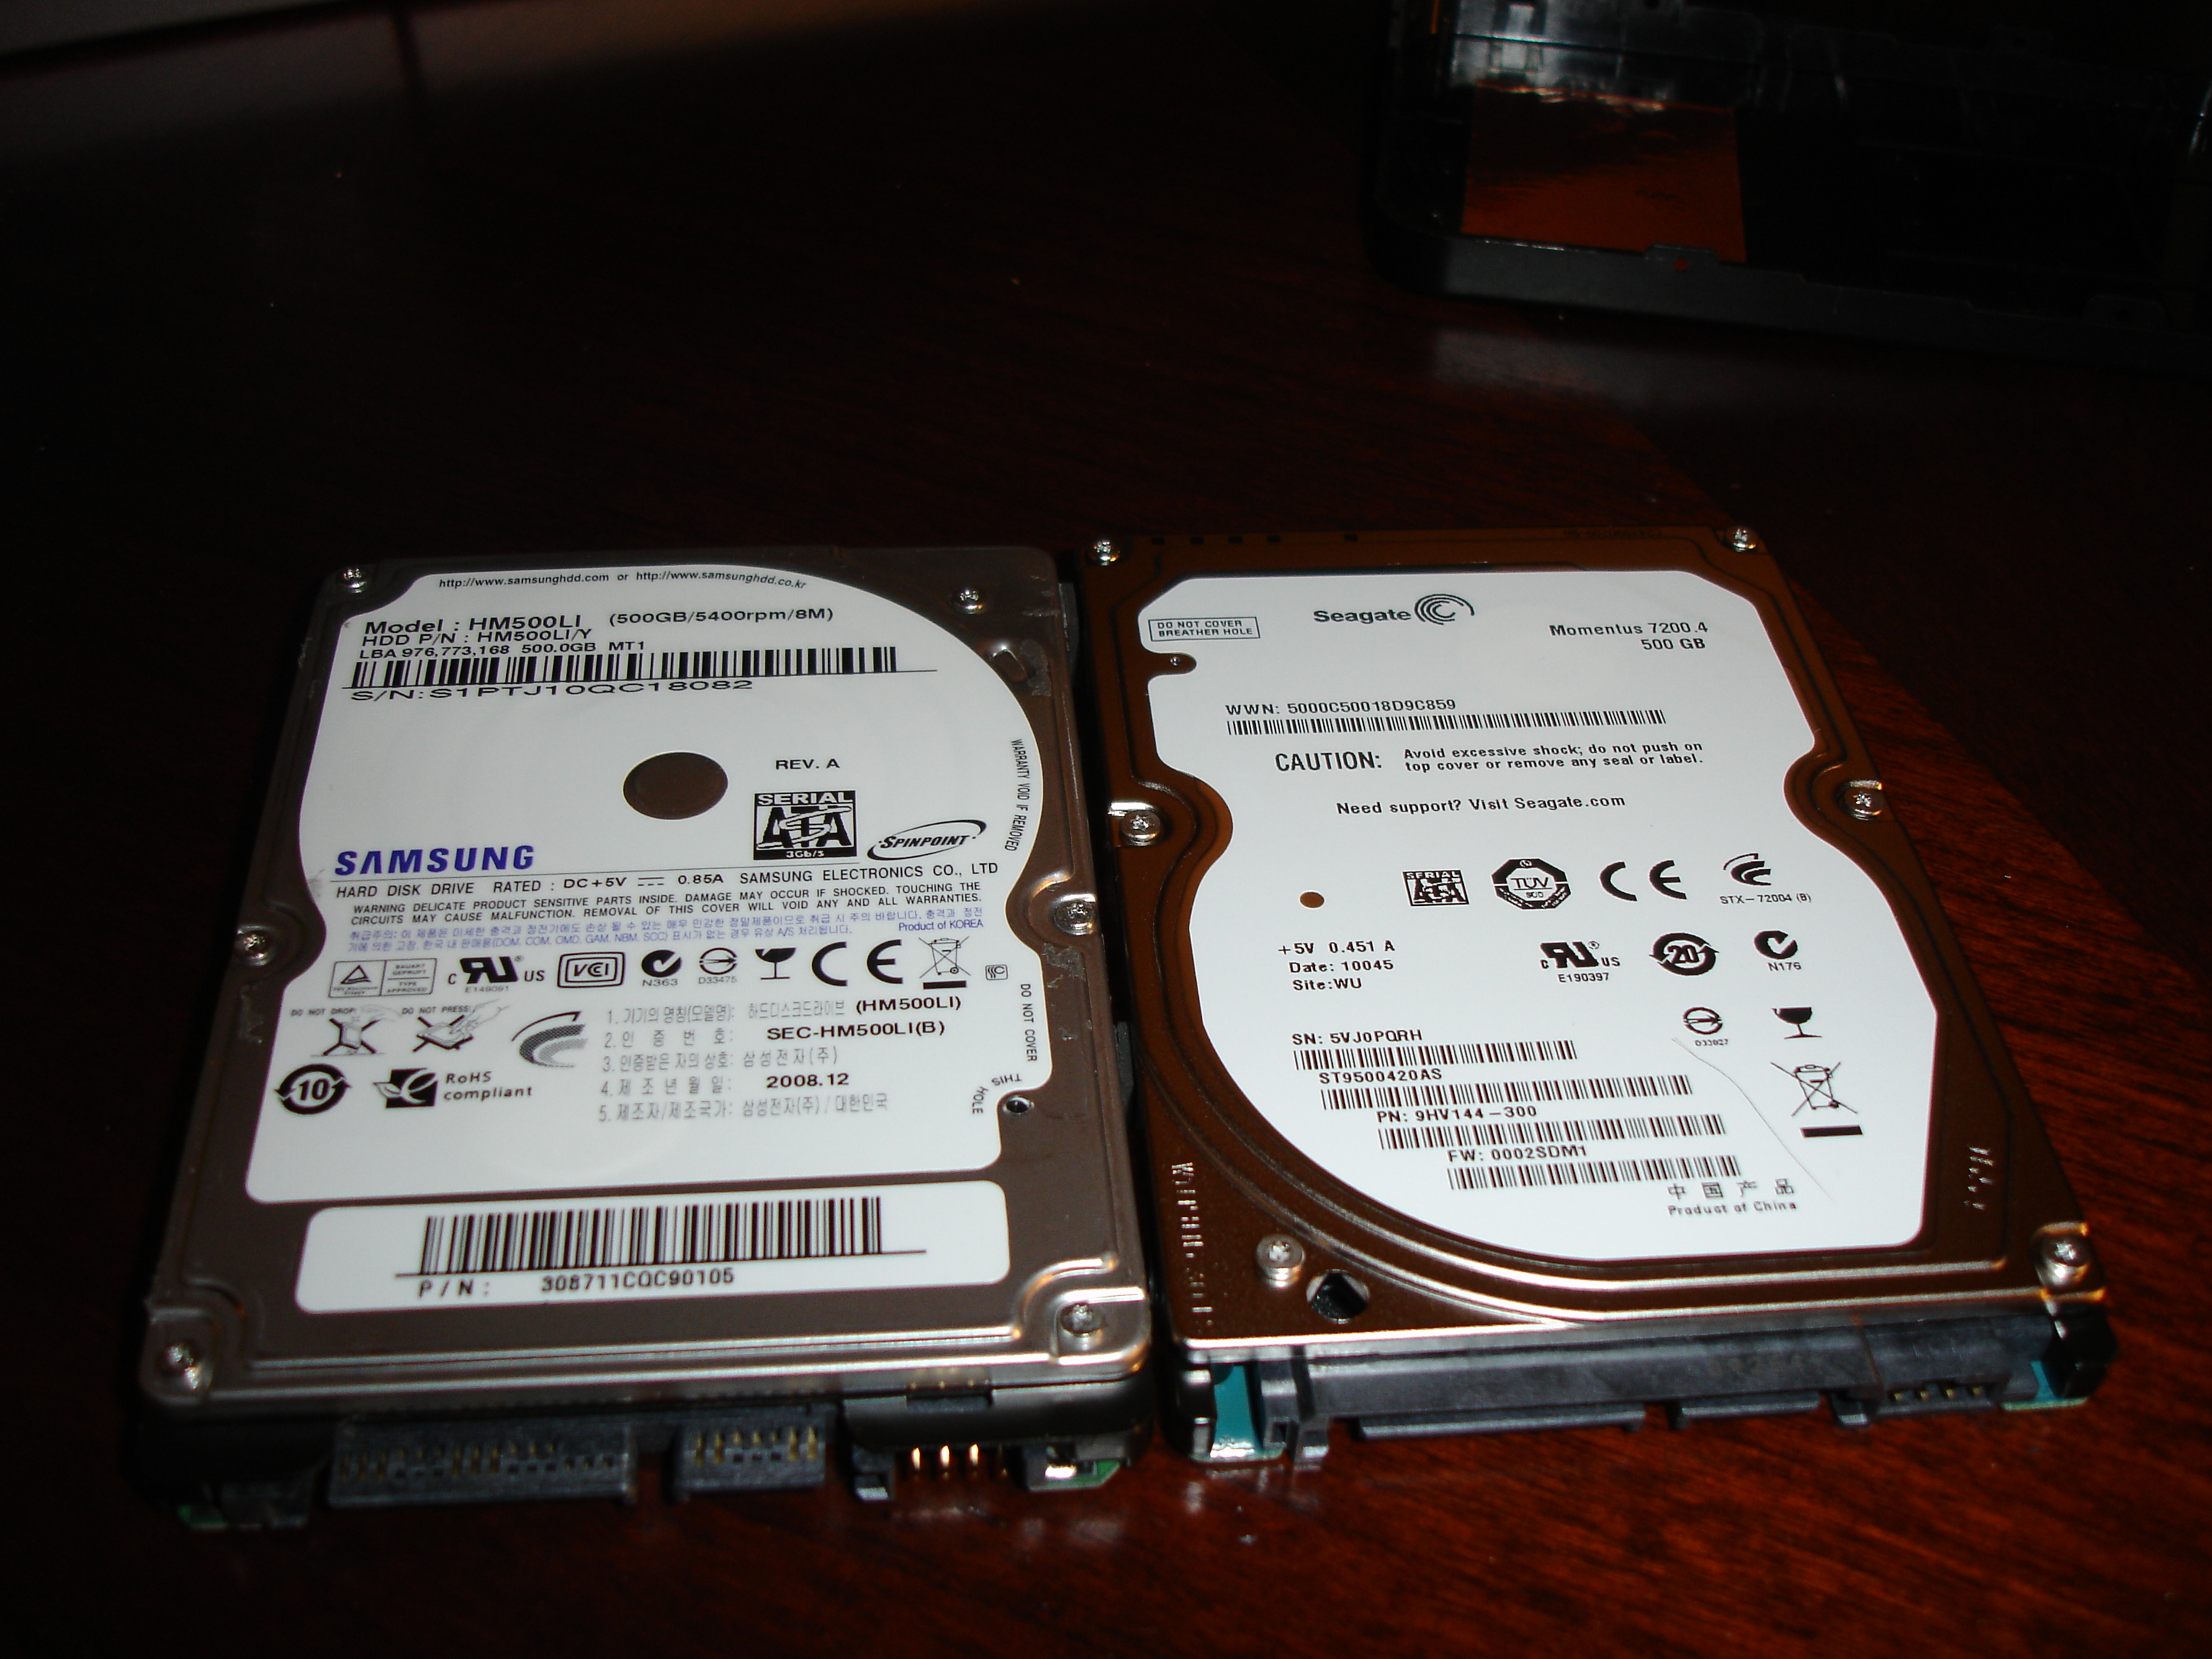
]
Now all you have to do is put everything back together. This is actually pretty easy. First you need to screw the controller onto the back of the drive.
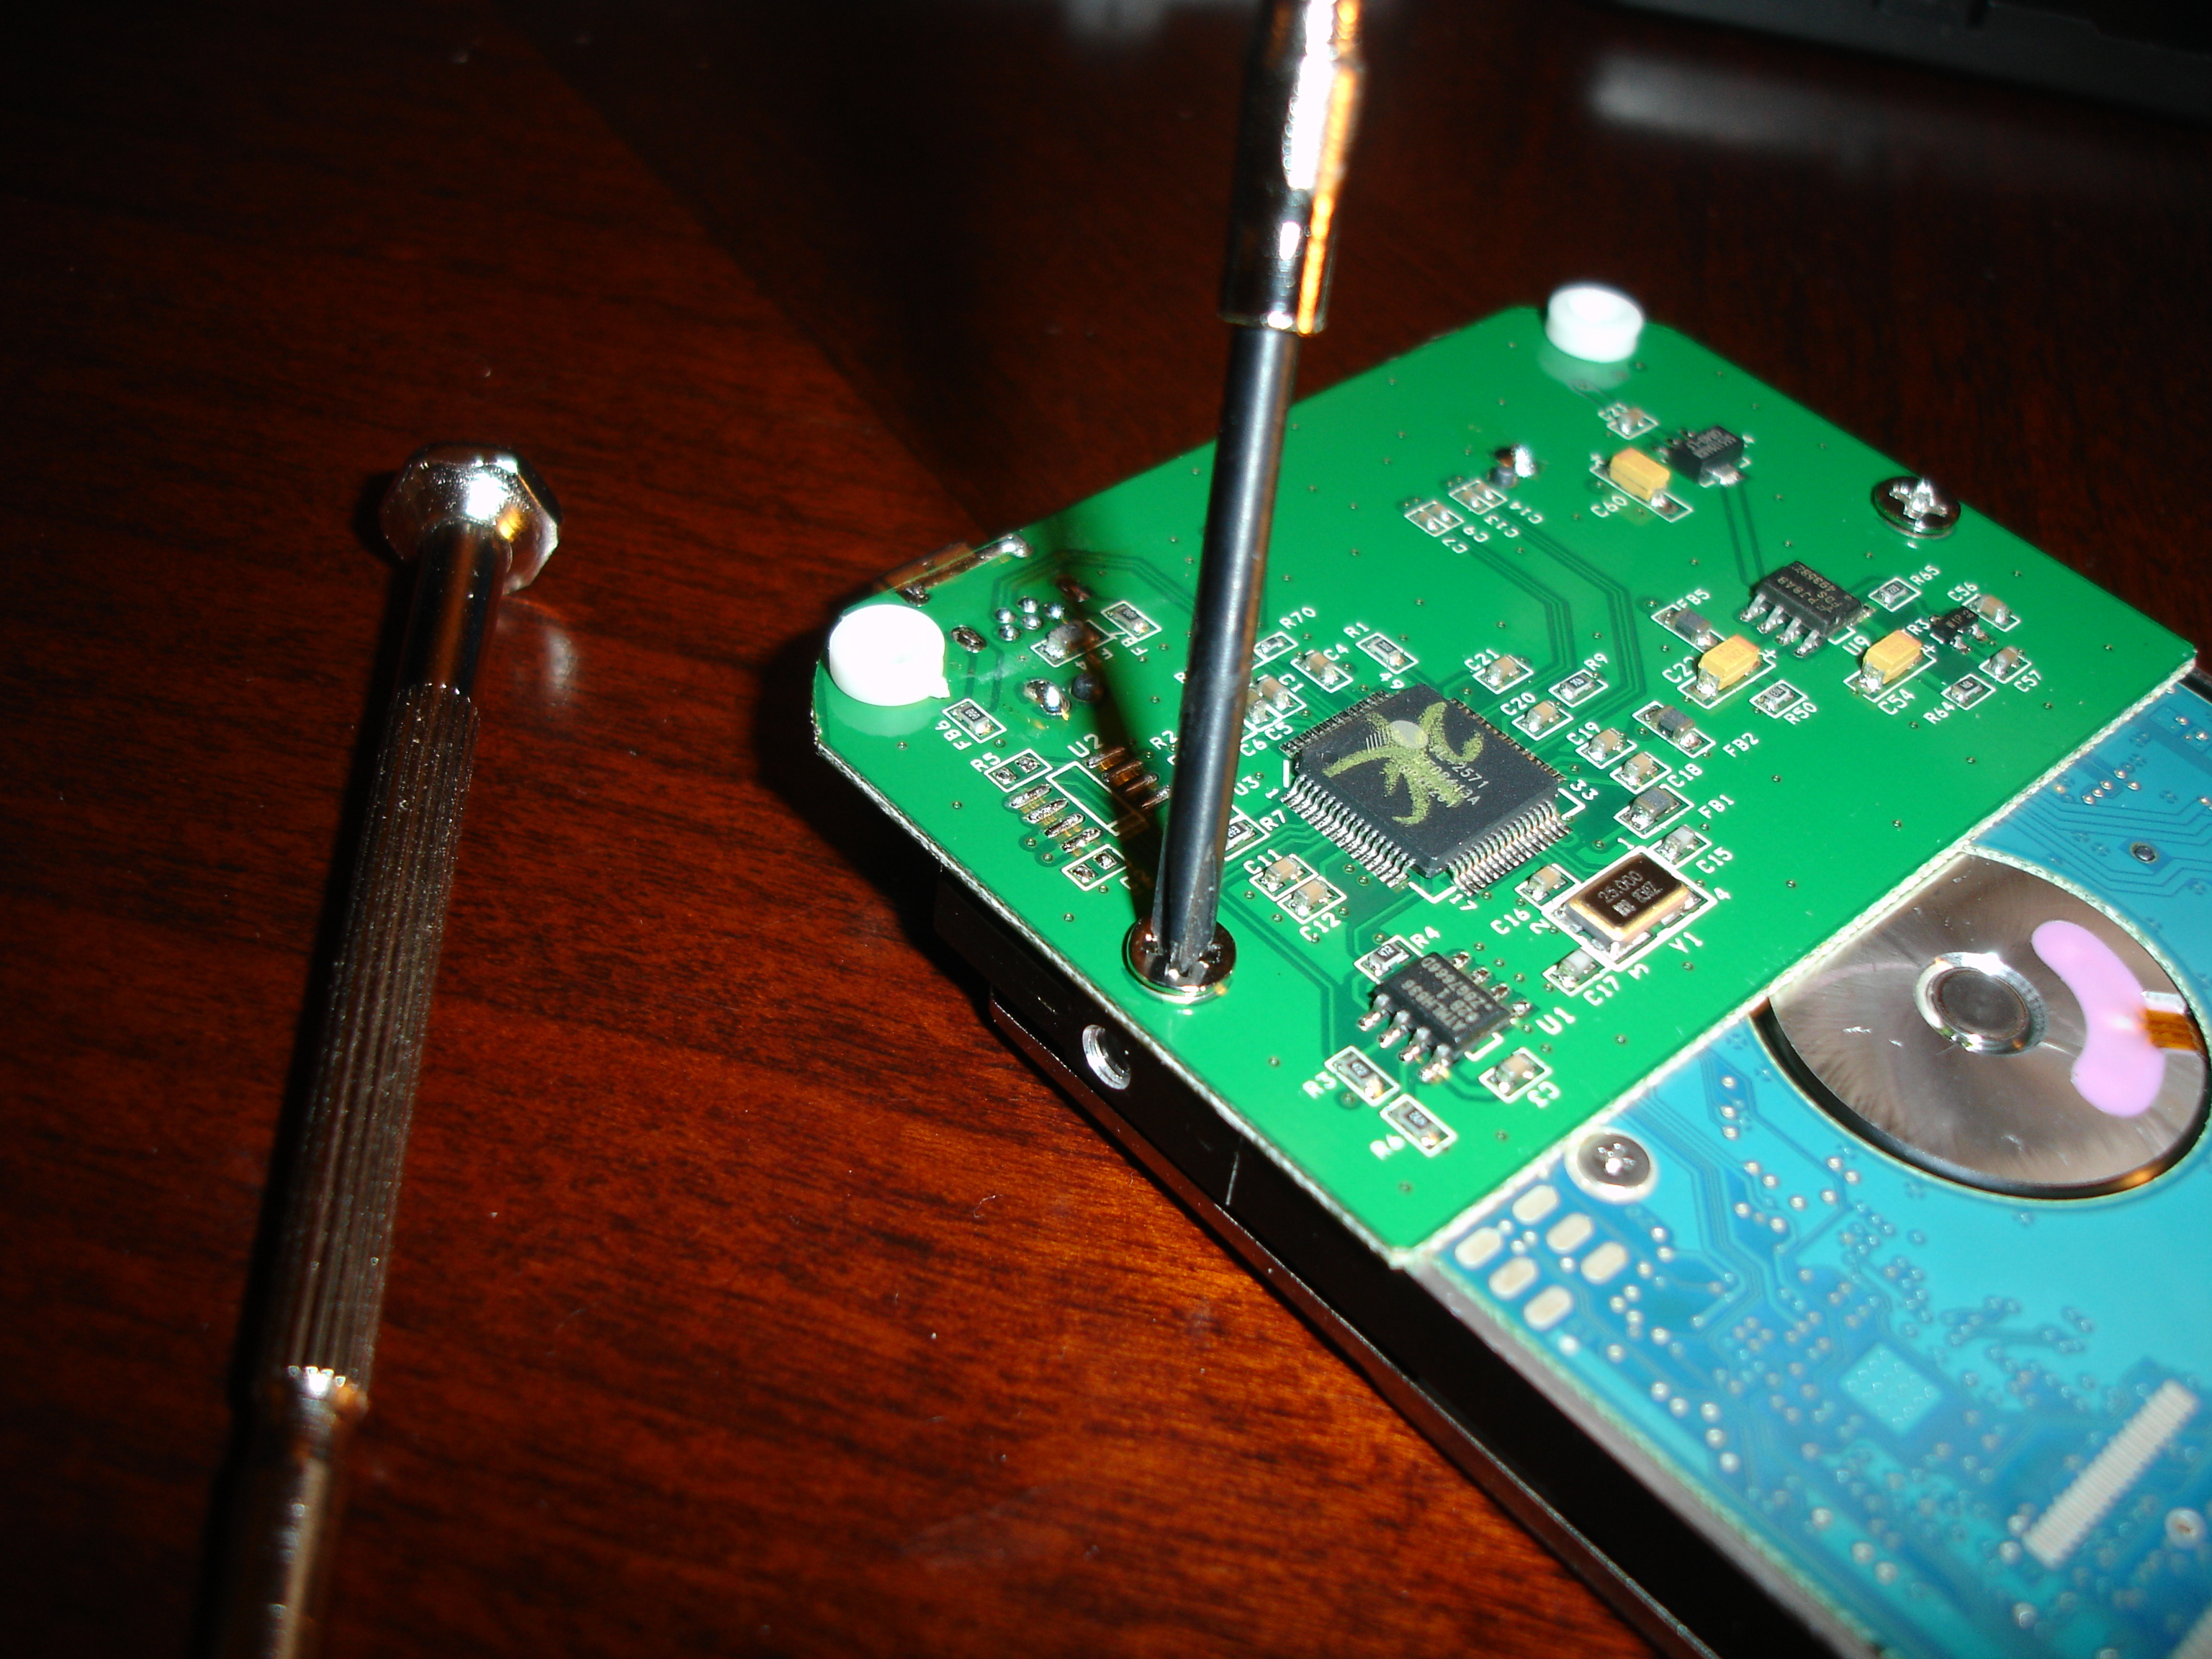
]
Now you just need to put the drive and controller into the bottom part of the enclosure, which has two pegs that should easily slide into holes that are on the controller. After that, you snap the chrome/plastic border back on, secure the drive with the tapes (if you haven’t lost them like me!) and snap the top part of the enclosure back on. All you have left now are the screws you removed initially. Just screw them back in and you’re good to go! You should be able to plug in your drive and have your OS pick it up. If you’re using a brand-new drive, it’s probably not formatted so you’ll have to format it to FAT32 (so that you can use it on any OS. The limitation is that you can’t store files larger than 4GB). Look up the documentation specific to your OS for instructions on how to do that. I know that on Windows you can use Disk Manager _to format your drive, while on Ubuntu you can use _gparted to do the same.
That’s it! I hope you found this "how to" useful!
Sign in to leave a comment.
Loading…